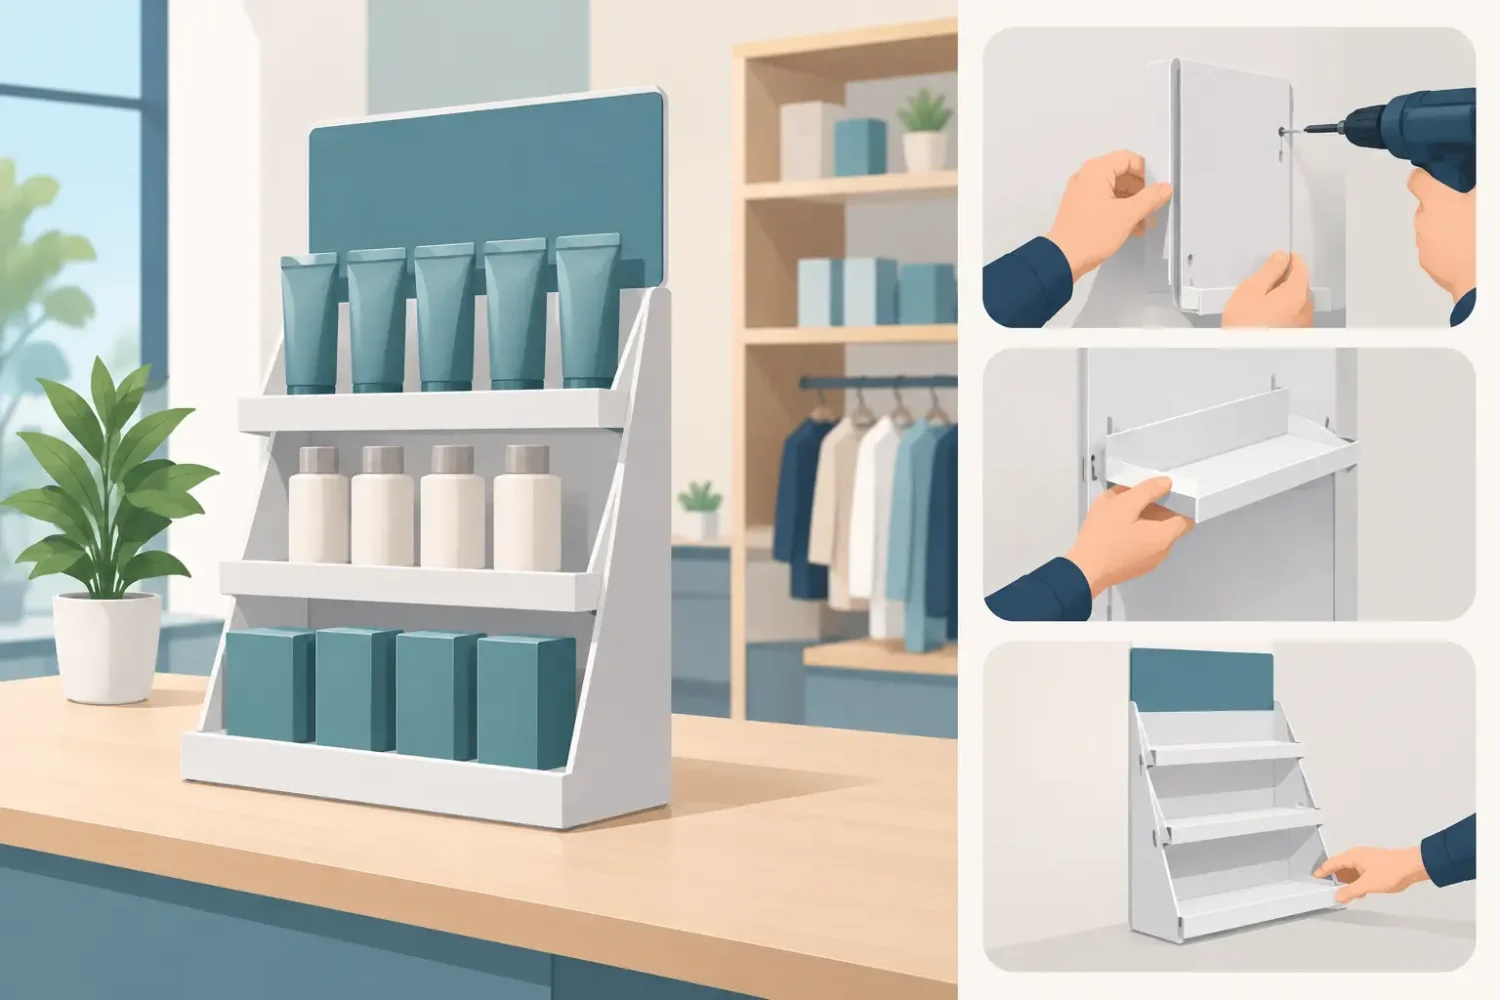
A point of sale mounting guide matters when a promotion is printed correctly but fails at the last step: the sign curls off a shelf, blocks a product, leans on a counter, or disappears in a busy aisle. Mounting is not an afterthought. It determines whether shoppers can see the message, whether staff can maintain the display, and whether the graphics remain presentable for the full campaign period.
For retail operators, marketing teams, and event buyers, the right choice starts with the surface, the display location, the graphic size, and the expected campaign life. A temporary price promotion requires a different mounting method than a permanent menu board, a countertop product launch, or a freestanding display at a roadshow.
Point of Sale Mounting Guide: Define the Job First
Before selecting a stand, adhesive, frame, or printed substrate, identify what the display needs to do. Point of sale material usually has one of four jobs: stop traffic, communicate product information, direct shoppers, or support a purchase decision at the counter. Its mounting method should support that job without creating clutter or obstructing stock.
Start with the location. Countertop displays need a small footprint and enough weight to stay upright when air conditioning, passing shoppers, or counter cleaning creates movement. Shelf-edge graphics need to fit the shelf profile and avoid covering price labels or product facings. Wall graphics need a clean, compatible surface and a mounting method that will not damage paint or leave adhesive residue when the campaign ends.
Campaign duration is equally important. For a weekend sampling activity, removable double-sided tape, static-cling material, or a lightweight stand may be practical. For a three-month retail rollout, use hardware designed for repeated handling, such as acrylic sign holders, aluminum frames, poster rails, or dedicated shelf talker clips. Saving money on mounting hardware can create replacement work, store complaints, and inconsistent presentation across branches.
Match the Mounting Method to the Surface
The surface determines the practical options. Do not choose the printed material first and then try to force it onto an unsuitable location.
Glass and smooth panels
Glass storefronts, chilled display doors, acrylic panels, and polished metal surfaces work well with window stickers, static-cling graphics, clear stickers, or removable adhesive vinyl. The key issue is cleaning. Dust, oil, moisture, and residue from glass cleaner can reduce adhesion and create bubbles. Wipe the area with a lint-free cloth, allow it to dry fully, and apply the graphic from one edge using a squeegee or firm card.
For outward-facing window graphics, check whether the print must be read from inside or outside. A reverse-printed clear sticker may be needed when the graphic is applied to the inside of a glass panel. This protects the print from handling and weather exposure, but it can affect color density and readability if the artwork is not prepared for the application method.
Painted walls, partitions, and boards
Painted walls vary more than buyers expect. Fresh paint, textured finishes, dusty surfaces, and low-quality coatings can all reduce adhesion. Removable wall vinyl is useful for short-term retail visuals, while mounted foam board, PVC board, or framed graphics are safer for displays that must stay flat and clean over time.
If the wall surface is uneven, a direct-applied sticker may show every imperfection. In that case, mount the printed panel to a rigid board or use an aluminum frame. This creates a more controlled finish and makes replacement easier when creative changes.
Shelves, gondolas, and rack systems
Shelf-edge promotions need precise dimensions. Measure the shelf lip height, available width, distance from the product front, and clearance for restocking. A graphic that projects too far can be knocked loose by cartons or interfere with shoppers reaching for products.
Shelf strips, shelf talkers, wobblers, and clip-on holders are often better than permanent adhesive because they can be replaced quickly. For promotional cards extending into the aisle, use a flexible clear strip or purpose-made wobbler arm. The movement attracts attention, but it should not cover the product name, price tag, or adjacent product category.
Counters and checkout areas
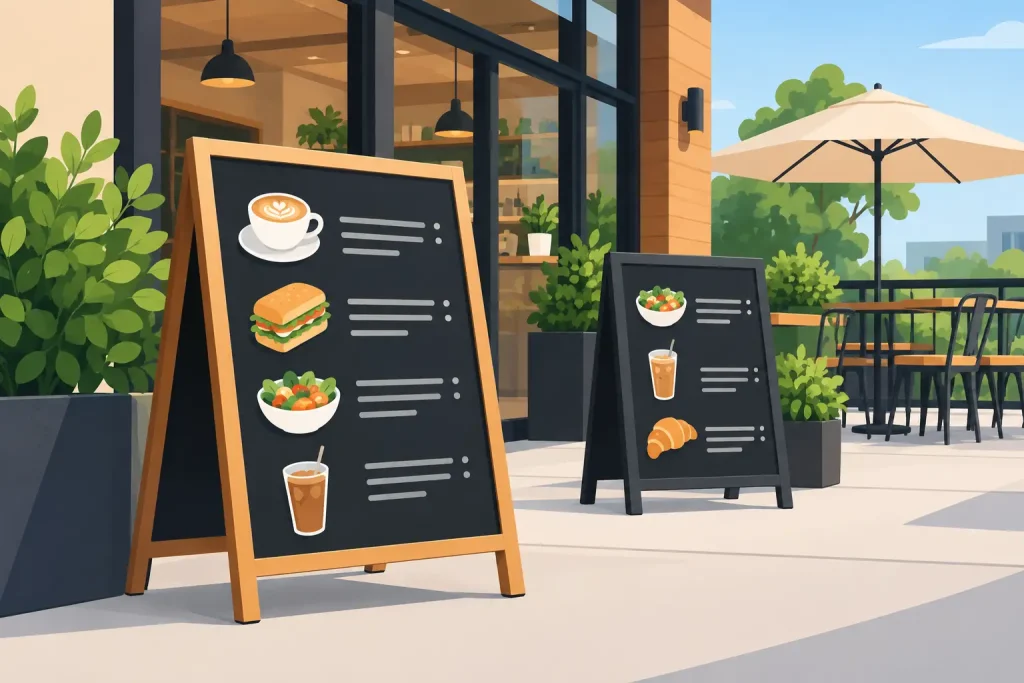
Checkout counters have limited space and high staff interaction. Counter cards, acrylic tabletop holders, small poster stands, and branded display counters are reliable options. The printed panel should be rigid enough to remain flat, and the base should be stable without taking up payment or packing space.
A counter display placed too close to a card terminal, scanner, receipt printer, or queue barrier can slow transactions. Keep the message short, use a clear call to action, and position the display where the shopper can read it while waiting rather than while trying to pay.
Choose Hardware Based on Replacement Needs
The best mounting solution is often the one that lets staff change graphics without replacing the structure. This matters for retail chains, recurring promotions, menu updates, and event programs with rotating sponsors.
Poster frames and snap frames suit printed posters that change regularly. The frame protects the edges and keeps the sheet flat, although it is less suitable for very thick boards. Acrylic holders work well for price cards, product information, table signs, and counter promotions. They are compact, reusable, and easy for store staff to update, but they can scratch or crack in high-traffic areas if the acrylic is too thin.
For larger graphics, roll-up stands, X-banners, popup systems, fabric backdrops, and LED light frames provide more presence than a mounted poster. These are freestanding formats, so they avoid the need to drill into walls or apply graphics directly to a surface. They are useful for store entrances, launches, mall activations, exhibitions, and temporary promotional zones.
Rigid printed boards are appropriate when the graphic itself needs to function as a sign panel. Foam board and KT board are lightweight choices for indoor short-term use. PVC board offers better durability for regular retail handling. The correct material depends on size, expected life, humidity, and whether the panel will be moved between locations.
Select Print Materials for the Mounting Method
Print production and mounting should be specified together. A low-tack sticker may be correct for a temporary wall application but unsuitable for rough painted concrete. A heavy laminated board may need mechanical fixing rather than tape. Transparent, hologram, matt silver, PP white, synthetic, and Mirrorkote stickers each create a different visual result and have different application requirements.
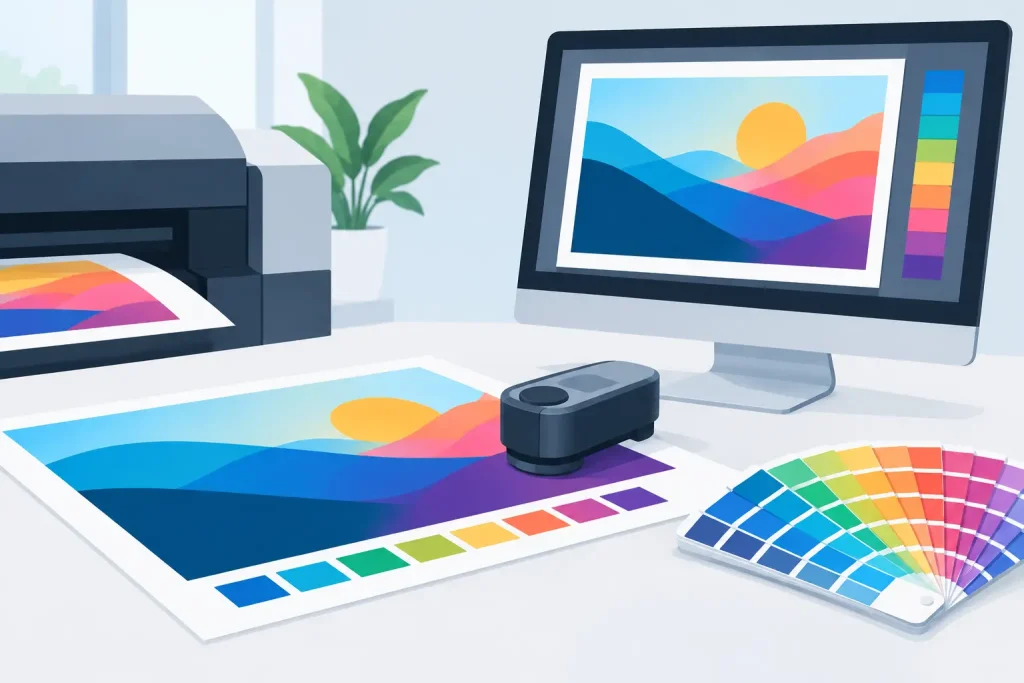
For close-view retail graphics, sharp text and color consistency matter more than oversized resolution claims. Use a print method and substrate that fit the viewing distance. UV printing is useful for rigid boards and many specialty surfaces. Eco-solvent, solvent, latex, and dye sublimation printing each have suitable applications depending on the media, finish, indoor or outdoor use, and required production quantity.
Consider glare before approving a finish. Gloss can make product colors look stronger under controlled lighting, but it may reflect overhead retail lights and make small text hard to read. Matte finishes reduce reflection and are often better for instructional signs, menus, price communication, and displays positioned under direct spotlights.
Installation Details That Prevent Failure
Measure every location before finalizing artwork. Include visible area, mounting area, obstructions, electrical points, shelf divisions, door swing, and cleaning access. A display can be correctly produced and still fail if a frame overlaps a switch, a counter card is hidden by product stock, or a floor stand blocks a walkway.
Use a placement template when rolling out multiple outlets. The template should state the exact display type, print size, mounting method, location, height, and orientation. A photo reference is useful for installers and store staff, especially when the same campaign uses shelf strips, window graphics, counter cards, and freestanding stands.
For adhesive graphics, apply pressure evenly from the center outward and avoid stretching the material. For drilled or mechanically fixed boards, use fixings rated for the board weight and wall condition. For framed systems, check that the graphic can be replaced without removing the whole unit. Small operational details determine whether a campaign remains consistent after the launch team leaves.
Common Point of Sale Mounting Errors
The most frequent error is treating every store surface as identical. One branch may have smooth glass, while another has textured walls, different shelf heights, or limited counter space. Site checks are particularly valuable for large rollouts.
Another issue is overloading the display. A shelf talker, price card, promotional sticker, product stopper, and hanging sign competing in the same small area will not create stronger communication. It usually makes the message harder to find. Give each point of sale unit a defined role and allow the product to remain visible.
Finally, plan removal before installation. Ask whether stickers must come off cleanly, whether boards will be reused, where replacement graphics will be stored, and who is responsible for removing expired promotion material. A display system that supports changeovers reduces waste and keeps retail spaces current.
For buyers sourcing printed graphics and hardware together, My Inkjet can help align the display format, print substrate, and mounting approach before production begins. The practical target is simple: use a mounting method that holds the message in the right place, for the required period, without creating extra work for the store team.
Related Posts