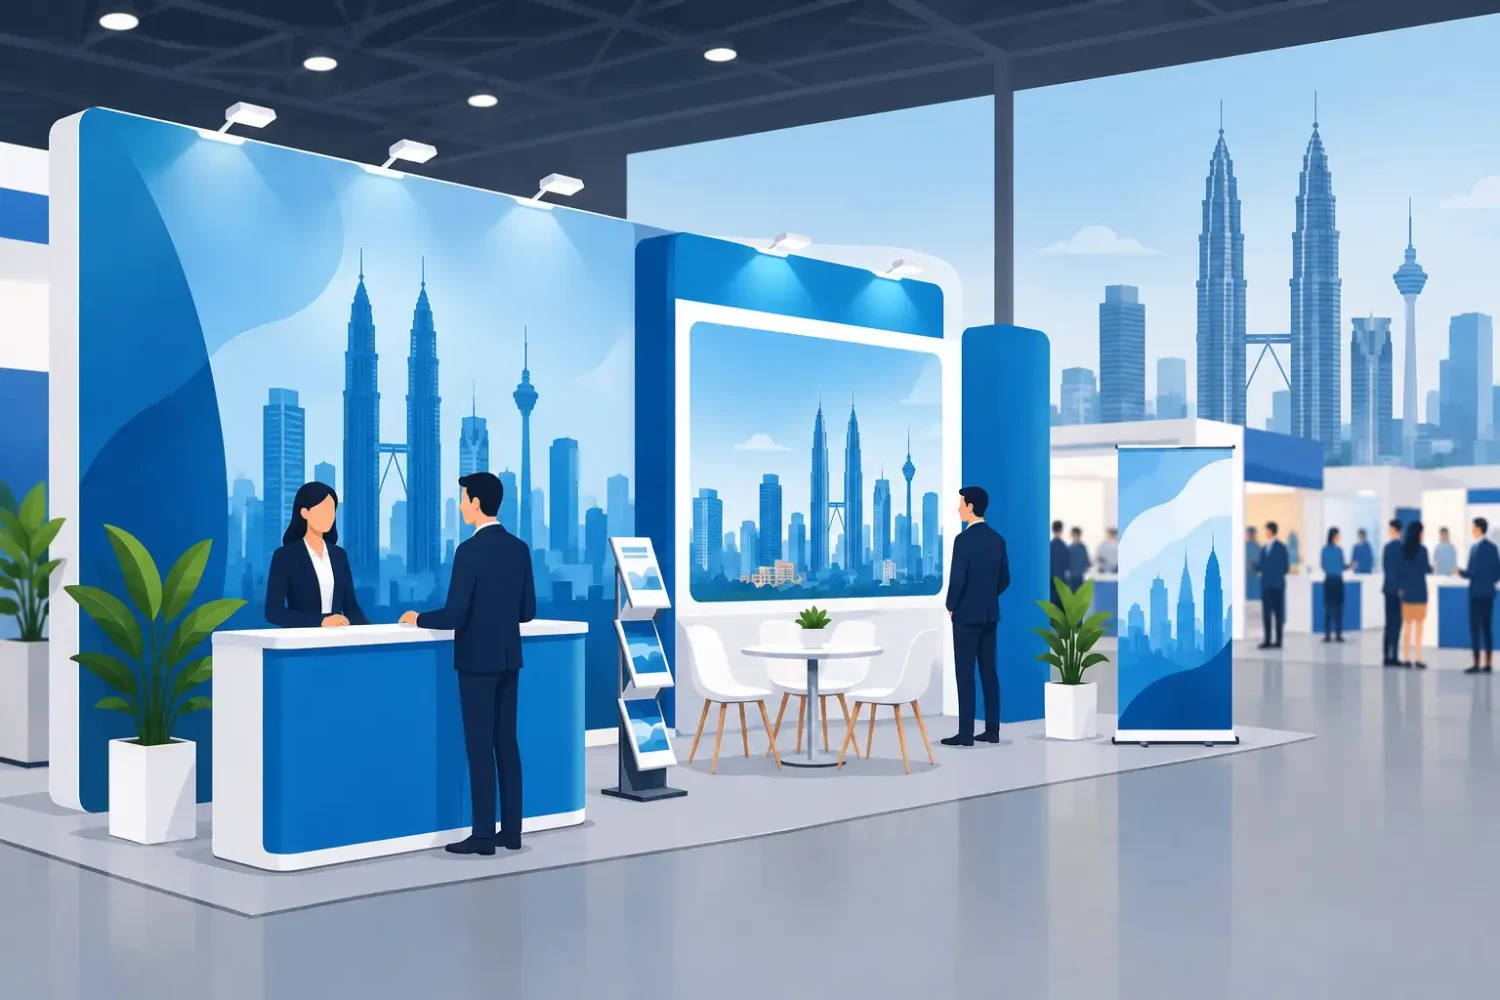
A booth can have a strong product, trained staff, and a prime aisle position, then still lose attention because the graphics are hard to read, poorly fitted, or built for the wrong display system. Kuala Lumpur exhibition printing is not simply about producing a large banner. It is about matching the artwork, print material, finishing, and hardware to the way the display will be used on the show floor.
For exhibition teams, the practical objective is clear: make the brand recognizable from a distance, communicate one or two key messages quickly, and use display equipment that can be transported, installed, and reused without unnecessary complications. The right specification depends on booth size, venue lighting, campaign duration, and whether the display will travel to multiple events.
Start Kuala Lumpur Exhibition Printing With the Booth Plan
Before selecting a roll-up stand, popup display, fabric wall, or LED light frame, confirm the available booth footprint and the surfaces you can use. A 3m x 3m shell scheme booth has different requirements from an island booth, a retail roadshow, or a product launch in a mall atrium. Request the organizer’s floor plan, shell scheme dimensions, height limits, power availability, and setup schedule early.
Plan graphics in viewing zones. Your logo and main visual should be visible from the aisle. Product details, specifications, QR codes, and contact information belong closer to eye level, where visitors can approach and read them. Trying to place every service, product photo, and promotion on one backdrop usually makes the message weaker.
A practical booth often uses one main backdrop and several supporting display units. For example, a popup display can carry the primary campaign visual, while roll-up stands explain product categories or limited-time offers. A counter provides a useful interaction point and can also hold a branded panel. This keeps the booth organized without relying on one oversized graphic to do every job.
Choose Display Hardware Before Finalizing Artwork
The print size is determined by the display system, not the other way around. Artwork built at an estimated size may be cropped, stretched, or incorrectly positioned when production begins. Confirm the exact visible area, bleed requirement, safe area, and panel layout before the designer exports final files.
Roll-Up Stands for Portable Campaigns
PVC roll-up stands are a common choice for smaller booths, seminars, dealer events, and roadshows. They are compact, quick to deploy, and easy to place at entrances or beside product demonstrations. They work best with a focused message: a product image, short headline, and clear call to action.
A roll-up banner is not ideal for detailed price lists or dense corporate profiles. The viewing width is limited, and visitors often see it while walking. If there is substantial information to communicate, use a brochure counter, product sheet, or screen alongside it.
Popup Displays and Backdrop Walls
Popup displays create a stronger branded background for exhibition booths, press walls, and photo areas. They suit businesses that need a broad visual surface but want a display that can be dismantled after the event. Panel alignment matters. Important text and faces should not sit across joins, edges, or hardware sections.
For a short campaign, a printed popup can be an efficient option. For repeated use, consider whether future campaigns may need replacement graphics. Reusable frames with changeable graphic skins can reduce hardware costs across multiple events, although replacement graphics still need careful storage and handling.
LED Light Frames and Fabric Displays
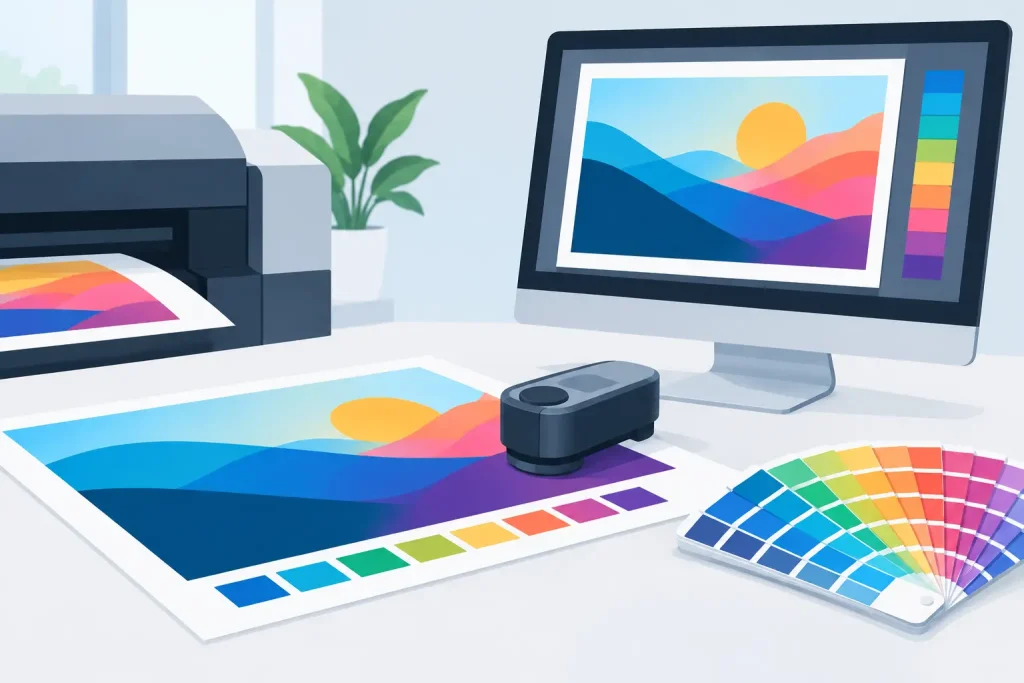
LED light frames are useful where the venue has subdued lighting or where a premium illuminated visual is required. Backlit graphics need suitable material and color preparation. A file that looks correct on a monitor may appear too bright, washed out, or uneven when light passes through it. Test prints are worthwhile for critical brand colors and high-value product launches.
Fabric displays and dye sublimation printing can suit lightweight backdrops, tension systems, and repeat-use graphics. Fabric is generally easier to transport than rigid panels and avoids glare under many exhibition lights. However, it needs correct tensioning, and wrinkles or poor installation can affect the final presentation.
Select Print Methods and Materials for the Application
Print method should be selected according to the substrate, intended viewing distance, durability requirement, and finish. Large-format graphics are often viewed from several feet away, so the goal is not always the highest possible image detail. It is consistent color, solid coverage, readable text, and a finish that suits the display environment.
Eco-solvent and solvent printing are commonly used for flexible signage and display graphics. They can be suitable for banners, vinyl applications, and many promotional formats. UV printing is useful for direct printing on rigid materials and can produce sharp output on boards, panels, and specialty substrates. Latex printing can be considered when low-odor production and indoor applications are priorities. Dye sublimation is typically selected for polyester fabric graphics, flags, and textile display systems.
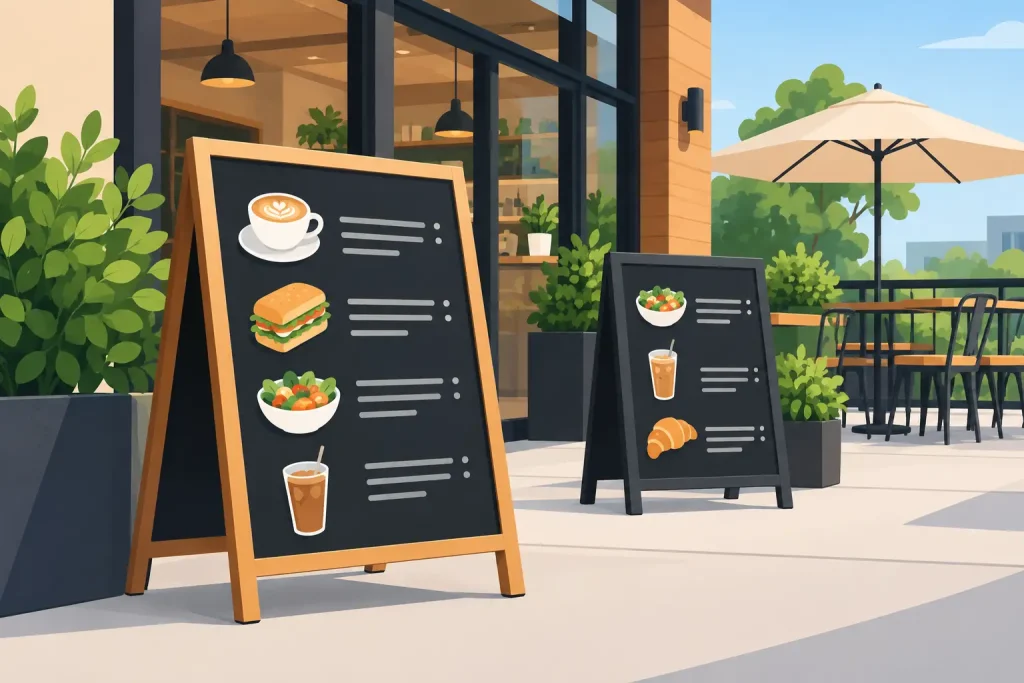
For rigid promotional pieces, KT board stands and mounted board prints can work well for directional signs, product cutouts, tabletop promotions, and temporary information panels. They are straightforward to position but are less convenient than fabric or roll-up formats when frequent transport is required. If the item will be handled repeatedly, discuss board thickness, edge protection, and packing.
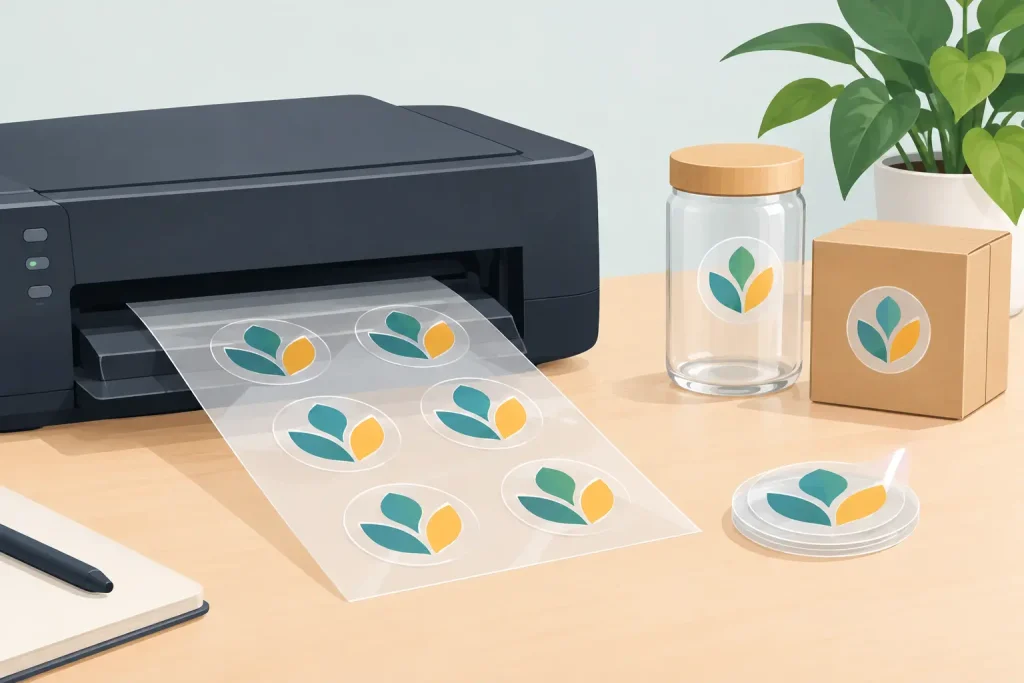
Sticker materials also have a role in exhibition work. PP white, transparent, hologram, synthetic, matt silver, and Mirrorkote stickers can support product labeling, giveaway packaging, counter graphics, or promotional decals. The material should match the surface and duration of use. A transparent sticker can create a clean look on glass or acrylic, but it requires careful artwork preparation because white ink and background colors affect visibility.
Prepare Artwork That Prints Correctly
A good exhibition graphic starts with a production-ready file. Supply artwork at the final print proportion, using high-resolution images suitable for the output size. Vector logos, text, icons, and line graphics should remain vector whenever possible. This helps maintain clean edges on large-format output.
Use CMYK color settings for print artwork rather than relying only on RGB screen colors. Brand colors can shift between digital screens and physical media, particularly on fabric, backlit material, vinyl, and uncoated board. If a specific corporate color is essential, provide the relevant color reference and allow time for checking or proofing.
Keep important content within the safe area. Bleed is used for trimming and fitting, so text, logos, QR codes, and key product details should not be placed near the outer edge. For popup panels and tension fabric systems, account for panel joins, frame edges, zippers, and folded return areas.
Small type is another frequent issue. Text that appears readable at 100% on a laptop may be ineffective from an aisle several yards away. Use a type size appropriate to the intended viewing distance, and check contrast. White text over a busy product photo may look stylish in a layout but can disappear under venue lighting.
Plan for Installation, Transport, and Reuse
Exhibition printing has an operational side that should be considered before placing an order. A display that looks good in a mockup can become difficult to manage if it is too heavy, has no protective case, requires tools that the booth team does not have, or takes longer to install than the organizer allows.
Confirm whether the display will be carried by staff, shipped by courier, or moved by an appointed contractor. Roll-up stands, popup systems, counters, beach flags, and frame systems have different packing requirements. Rigid boards need more protection against corner damage, while fabric graphics should be folded or rolled carefully to avoid creasing.
For campaigns that move from Kuala Lumpur to other Malaysian cities, standardized hardware makes replacement and repeat ordering easier. Keeping a record of display model, graphic dimensions, material type, and final artwork version avoids confusion when a new branch, distributor, or event team needs matching items later.
Before the event, conduct a simple physical check: assemble each display, inspect graphic alignment, confirm that base units and poles are included, and review the final message from normal viewing distance. My Inkjet can support buyers who need both display hardware and printed graphics from one source, reducing the need to coordinate separate frame and print suppliers.
The most effective exhibition setup is rarely the one with the most printed material. It is the one where every backdrop, stand, counter, flag, and sticker has a defined job. Specify the display system first, produce graphics for its actual dimensions, and choose materials that will still look professional after transport, installation, and a full day on the show floor.
Related Posts