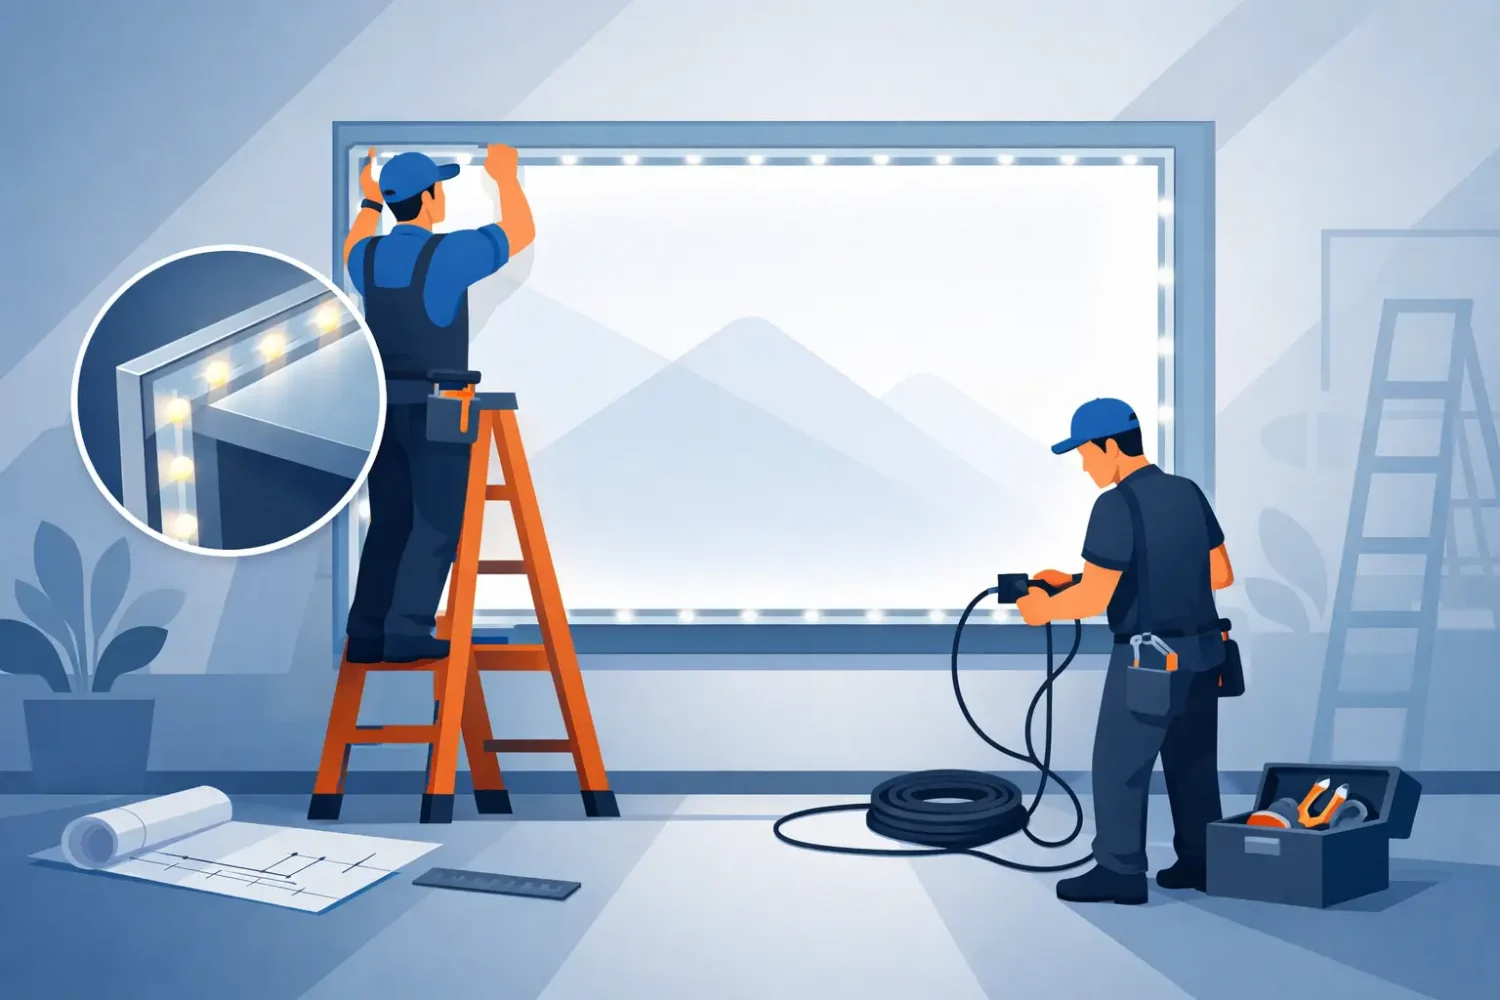
A backlit sign can look precise on a production table and still fail at the wall if the power point, mounting surface, or graphic fit was not checked first. This backlit signage installation guide is for retail teams, event contractors, and marketing buyers installing LED light frames, fabric light boxes, or illuminated wall displays where clean alignment and even light output matter.
The installation is not difficult when the hardware, print, and site conditions match. Problems usually come from treating the frame and graphic as separate purchases, or from deciding on the electrical route after the sign has arrived.
Start With the Sign Type and Site Conditions
Confirm what you are installing before planning the wall. Slim LED light frames commonly use edge-lit acrylic panels with printed translucent film or backlit media. Fabric light boxes use an aluminum frame, internal LED modules, and a silicone edge graphic, often called SEG fabric. Freestanding illuminated displays may include bases, feet, or a counter structure rather than wall fixings.
Each format has different requirements. An edge-lit frame is compact and works well for menu boards, poster displays, and retail wall graphics. It needs a graphic designed for illumination and a frame deep enough to hold the panel, diffuser, and lighting components. A fabric light box is better for larger visual areas because its tensioned face can be changed without removing a rigid panel.
Check the installation location before the print file is finalized. Measure the available width and height, including clearance for opening a poster frame or inserting a fabric graphic. Record where studs, concrete, glass, tiles, columns, and electrical outlets are located. Also consider viewing distance. A large wall frame mounted behind a reception counter needs a different graphic scale from a light box viewed at close range in a mall aisle.
Ambient light affects the result. Backlighting gives colors more impact, but direct sunlight or strong spotlights can reduce the perceived contrast. If the location is beside a storefront window, ask whether the sign will operate during daylight, evening, or both. This helps determine the right frame brightness, media, and color adjustment.
Plan Power Before Mounting the Frame
LED lighting is low energy, but it still needs an accessible and safe power route. Identify whether the frame uses a plug-in adapter, a hardwired driver, or a connection to an existing lighting circuit. Do not assume the supplied lead will reach the outlet once the frame is mounted.
For a plug-in unit, position the frame so the cable can run neatly to a nearby outlet without crossing a walkway or being pinched behind a panel. A cable channel, wall trunking, or concealed outlet can keep the final installation clean. For hardwired installations, use a qualified electrician and follow the electrical requirements that apply at the site. This is especially relevant for permanent retail fit-outs, food premises, public venues, and displays installed at height.
Keep the driver accessible where possible. LED drivers can require inspection or replacement over the life of the sign. Hiding one behind a permanently sealed wall panel may produce a tidy appearance, but it increases service time later. For larger light boxes, confirm whether the driver is integrated in the frame or supplied separately, and allow space for it.
Before fixing anything to the wall, connect the frame to power and test it on the floor. Check for dead sections, visible hot spots, flicker, loose connectors, and unequal brightness between panels. It is much easier to resolve a lighting issue before the frame is installed above a counter or display fixture.
Select Fixings for the Actual Wall, Not the Ideal Wall
The mounting method depends on the frame weight and the wall construction. Aluminum LED frames are generally light, but the complete assembly includes acrylic, diffuser panels, graphics, and electrical components. Large formats also place more leverage on each fixing point.
Concrete and brick walls normally require suitable anchors and screws. For drywall, locate studs or use load-rated anchors designed for the total sign weight. Tile, glass, and decorative cladding need extra care. Drilling through a tile can crack the surface, while adhesive-only mounting may not be reliable for a permanent illuminated sign. If the wall is a retail fixture or exhibition shell scheme, confirm its permitted load before installation.
Use the manufacturer-provided hanging rails, keyhole slots, brackets, or rear mounting holes when supplied. Do not drill through the lighting channel or frame body unless the hardware specification allows it. Drilling in the wrong position can damage wiring, void hardware support, or cause the frame to sit unevenly.
Mark the wall using a level, not only a tape measure. Measure the frame diagonals as well as its width and height if the sign is large. A frame can look level at the top but still appear distorted if the mounting points pull it out of square. For multi-panel displays, establish one reference line first, then install each panel from that line rather than measuring every panel independently.
Install the Frame Without Damaging the Light System
Lay the frame on a clean padded surface while assembling or connecting components. Remove protective film from acrylic only when you are ready to fit it, because exposed panels scratch easily. Keep screws, clips, and brackets organized by frame section. Small missing parts can stop a project even when the printed graphic is ready.
For wall-mounted frames, fit the mounting rail or brackets first, check level, then hang the frame with two people when the unit is wide or tall. Do not pull the frame into position by its power cable. Once it is mounted, check that it sits flat against the surface and that access panels, poster snaps, or graphic channels can still open.
If the display uses several LED modules or connected frame sections, follow the connection sequence supplied with the hardware. Connectors should be fully seated and cables routed away from sharp edges. Avoid over-tightening frame joints. The goal is a square structure with consistent graphic tension, not maximum force on every screw.
For temporary exhibitions and roadshows, use the supplied feet, bases, or support brackets rather than improvising with loose weights. A freestanding light box must remain stable if visitors brush against it or if the floor is uneven. Check the display from both sides if it is double-sided, as a stable front face can still leave the rear graphic loose.
Fit Graphics Made for Backlighting
Standard front-lit poster stock can appear dull or show uneven density in an illuminated frame. Specify backlit film, backlit fabric, or another compatible translucent material for the hardware. Print production should account for the light source behind the image. Dark solid areas, dense black backgrounds, and small light text need particular attention because backlighting can reveal banding, material texture, or inconsistent ink density.
For rigid poster frames, insert the diffuser and print in the correct order specified by the frame design. Make sure the graphic is clean before closing the frame. Dust, fingerprints, and trapped debris become more visible once the LEDs are on.
For silicone-edge fabric graphics, start at the corners and insert the silicone edge into the frame groove. Then work along opposite sides rather than completing one side at a time. This spreads tension evenly and reduces wrinkles. Do not stretch the fabric aggressively. A correctly sized SEG graphic should sit flat with firm, even tension.
Turn on the sign and inspect it from normal viewing distance. Look for ripples, dark edges, visible seams, and color shifts. If a fabric graphic shows a crease from packing, allow it to relax after fitting. Persistent creases may require refitting or a replacement print, depending on the material and how long it was stored folded.
Complete a Final Installation Check
Before handover, verify the frame is secure, level, illuminated evenly, and free from visible cable clutter. Confirm that switches, outlets, and drivers are accessible where needed. If the sign will operate on a timer, test the timer cycle. If it is part of a campaign rollout, photograph the finished display and retain the hardware specification, graphic size, and print material details for future replacement orders.
Cleaning should be simple. Switch off power before cleaning, use a soft dry or lightly damp cloth on the frame, and avoid harsh solvents on acrylic, fabric, or printed film. A damaged graphic is usually easier to replace than to repair, which is one reason to keep the final artwork and production dimensions on file.
A good illuminated display is built from matching parts: the correct LED frame, a backlit-ready graphic, suitable wall fixings, and a power plan that does not become an afterthought. When those details are confirmed before production, installation becomes a straightforward site task rather than a last-minute correction.
Related Posts