A floor sign only works when people can see it, understand it, and move past it without obstruction. This floor stand signage guide is designed for retail operators, marketing teams, event organizers, and procurement buyers who need to match display hardware and printed graphics to a real commercial setting.
Floor-standing signs are used for product launches, registration counters, aisle promotions, directional messaging, menus, safety notices, and exhibition branding. The format may look simple, but the wrong base, graphic material, or size can create a display that tips, curls, blocks traffic, or gets ignored. Start with the location and campaign purpose, then specify the hardware and print output around those requirements.
Floor Stand Signage Guide: Start With the Job
Before selecting a stand, define what the sign needs to do. A temporary promotion near a store entrance has different requirements from a wayfinding sign used throughout a three-day exhibition. Consider viewing distance, floor condition, expected foot traffic, campaign duration, and whether staff will need to move the unit during operating hours.
A floor stand placed beside a cashier line is usually viewed at close range. It can carry a compact offer, QR code, product image, or membership message. A sign positioned at the back of a retail floor needs a larger headline and simpler graphic hierarchy because customers will see it from farther away. At an event entrance, the priority may be quick identification, such as registration, hall directions, sponsor branding, or booth numbers.
The environment also matters. Indoor tiled floors, carpeted exhibition halls, concrete walkways, and outdoor covered areas place different demands on the base and frame. A lightweight stand is easier to carry and store, but it may not be suitable for an exposed area or a busy public route. More weight improves stability, although it also increases transport and handling requirements.
Select for duration, not just price
For a one-day roadshow, portable hardware that sets up quickly may be the practical choice. For a longer retail campaign, a more rigid frame or board stand can provide a cleaner, more permanent presentation. Reusing hardware across multiple campaigns can reduce cost over time, provided replacement graphics are available in the correct size and mounting format.
Do not treat all temporary signs as disposable. A well-selected roll-up stand, aluminum frame, or KT board stand can support repeat use when it is packed correctly and paired with suitable print material. Conversely, purchasing heavy hardware for a single short campaign may add cost without adding useful value.
Choose the Right Floor Stand Format
The hardware should support the message, not compete with it. Different display systems solve different problems, and the best option depends on the graphic size, portability requirement, and visual finish needed.
Roll-up stands are a standard choice for promotions, exhibitions, receptions, and sales presentations. The printed panel retracts into the base, making it efficient for transport and storage. This format works well for vertical messages with a clear headline, a product visual, and limited supporting details. It is less suitable for dense information or graphics that must be viewed from both sides.
KT board stands are useful for rigid promotional boards, directional signs, product information, and temporary in-store notices. They provide a flat display surface and can be effective where a lightweight board is enough. The limitation is that foam board can dent or crease more easily than a framed rigid panel, especially during repeated handling.
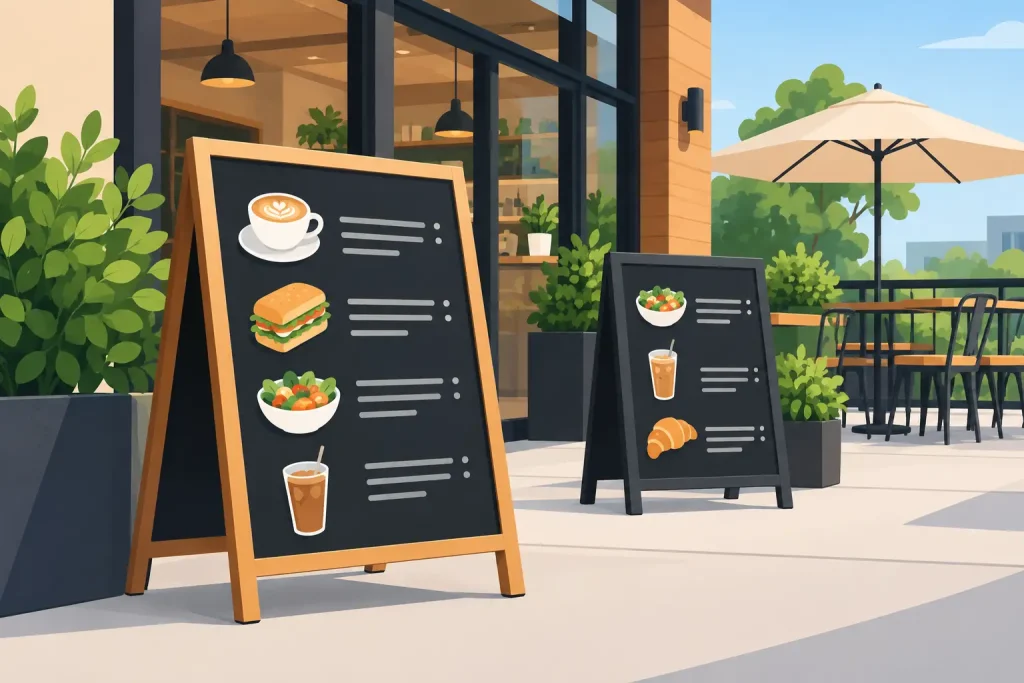
Aluminum or wooden frames are better suited to displays where structure and finish are part of the presentation. Aluminum offers a clean commercial look and is often easier to maintain in high-use environments. Wooden frames can fit selected retail concepts, food displays, lifestyle brands, or interior-led promotions, but the graphic style should match the finish rather than look like an afterthought.
For campaigns requiring maximum visibility, consider larger popup displays, LED light frames, or freestanding fabric systems instead of a narrow floor sign. These formats need more space, but they can carry stronger brand visuals at trade shows, launch areas, and photo opportunities. A small stand placed in a large venue can disappear, regardless of print quality.
Single-sided or double-sided display
Single-sided floor signage is appropriate when traffic approaches from one clear direction, such as a wall-side retail aisle or a queue barrier. Double-sided signage is more efficient in open areas, mall walkways, exhibition entrances, and central store zones where people approach from either side.
Double-sided hardware requires more planning. Both panels should communicate the same campaign or use complementary messages that make sense independently. Do not place a detailed instruction on one side and assume visitors will walk around to read the rest. Each visible face should do its own job.
Match Print Material to the Display System
A stand is only as effective as the printed graphic fitted into it. Material selection affects color appearance, opacity, surface finish, durability, and how the print behaves under lights. For standard indoor promotional graphics, PP white, synthetic paper, PVC, and fabric-based materials may be considered depending on the hardware and required finish.
PVC is commonly used for roll-up banners because it provides a smooth surface and holds shape well in retractable hardware. It is a practical option for repeated setup, provided the banner is rolled and stored correctly. PP white can suit poster-style messaging and point-of-sale graphics where a lighter material is preferred. Synthetic materials can be useful when improved resistance to tearing or moisture is needed.
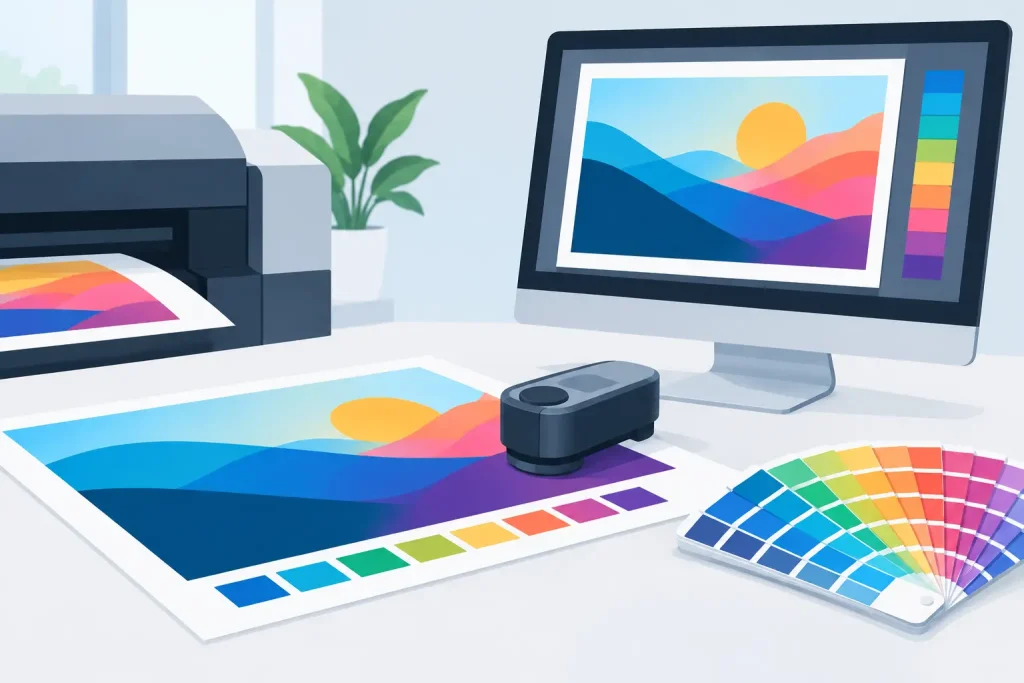
For high-impact brand campaigns, color consistency matters across every item in the space. A floor stand should not look noticeably different from the backdrop, counter wrap, window sticker, or product display. Supply approved artwork, brand colors, logo files, and any required color references before production. If the campaign uses dark solid backgrounds, gradients, fine type, or product photography, request a print approach that suits those artwork elements.
UV, latex, eco-solvent, solvent, and dye sublimation printing each have appropriate applications. The right method depends on the media, image quality requirement, installation environment, and production schedule. Dye sublimation is commonly associated with fabric graphics, while UV printing can support certain rigid materials and display boards. The practical question is not which method sounds best, but which method produces the required result on the chosen substrate.
Keep artwork readable at a distance
Floor signage is not a brochure. A customer walking through a store or event hall has limited time to process the message. Use one main action: shop the offer, scan the code, visit the booth, register here, or follow the direction. Put the key message in the upper half of the display where it can be seen before people are standing directly in front of it.
Small text, long URLs, and crowded product grids often fail on freestanding signs. If detailed information is necessary, use the stand to direct viewers to a QR code, staff member, counter card, catalog, or larger wall graphic. This preserves the stand’s role as a quick visual prompt.
Plan Size, Placement, and Traffic Flow
Measure the proposed position before ordering. Check available width, ceiling clearance, door swing, queue lines, emergency exits, and cleaning routes. A sign that fits on a floor plan may not fit once shelving, display tables, stanchions, or customer traffic are present.
Place the sign where people naturally slow down: near entrances, elevator lobbies, checkout queues, demo areas, fitting room approaches, registration points, and booth corners. Avoid placing a narrow stand in a location where it will be hidden by an open door or larger display. Also avoid creating a pinch point in an aisle simply to gain visibility.
For outdoor or semi-outdoor use, assess wind exposure and weather protection first. Indoor display hardware is not automatically suitable for exterior use. Where the area is exposed, use hardware designed for the conditions or move the message to a protected location. A damaged sign creates a poor brand impression and can become a safety issue.
Order Hardware and Graphics as One Specification
The most efficient purchasing process is to specify the stand and print together. Confirm the hardware model, visible graphic size, bleed requirements, finishing method, print material, quantity, packing method, and delivery date before artwork goes into production. This reduces the risk of receiving a graphic that is the right design but the wrong size for the stand.
For multi-location campaigns, create a simple schedule showing quantities by site, installation dates, and any variations in messaging. Retail teams may need one version for a storefront, another for checkout, and a third for an event activation. Keeping each format labeled by size and placement makes deployment faster for local staff.
My Inkjet can support buyers who need display hardware and printed graphics from one production source, including roll-up stands, board stands, frames, popup displays, and specialty print options. The useful starting point is a clear brief: where the display will stand, how long it will be used, what viewers need to do, and what level of finish the campaign requires.
A floor stand should earn its floor space. Choose a format that is stable, visible, easy to deploy, and fitted with a graphic that communicates one clear message. When hardware, material, and placement are specified together, the result is easier to manage and more likely to be noticed.
Related Posts