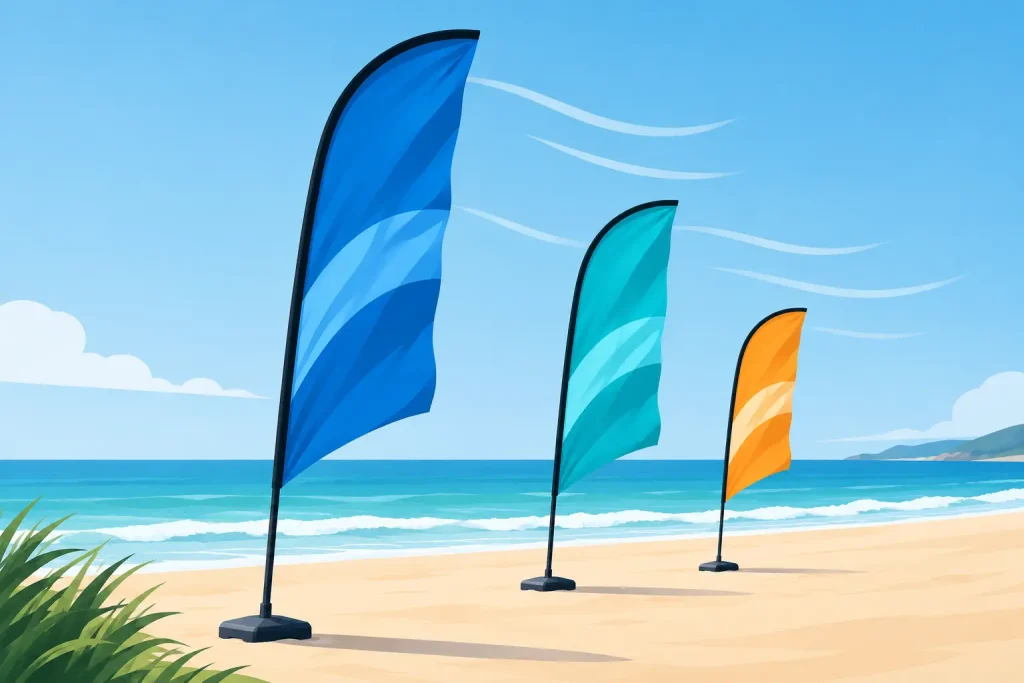
A beach flag that leans, twists, or pulls out of its base does not look professional at a storefront, roadshow, trade event, or outdoor promotion. Knowing how to assemble beach flags correctly protects the printed graphic, keeps the display visible, and reduces setup time for your team.
Beach flags are simple display systems, but the parts must be installed in the right order. Most units include a printed fabric flag, a flexible pole set, a base or ground fixing, and sometimes an additional weight such as a water bag. The exact assembly process depends on whether you are using a feather flag, teardrop flag, rectangular flag, or another shaped format, as well as whether the location is indoor, paved, grassy, sandy, or exposed to wind.
Check the Beach Flag Components First
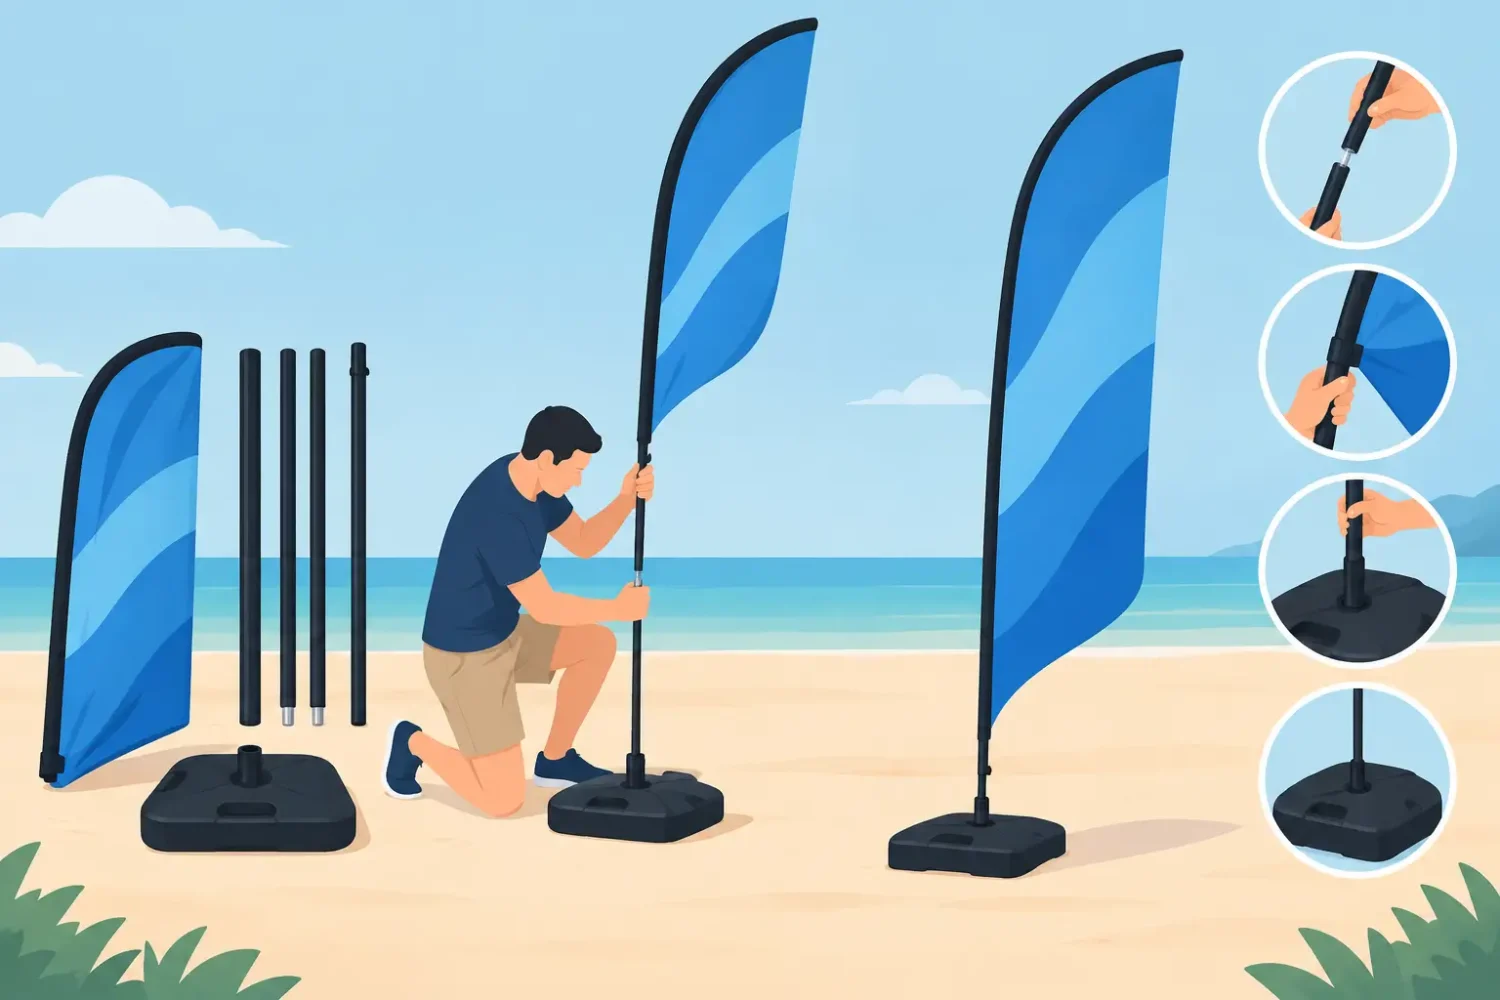
Before opening the hardware, lay out every component on a clean, flat surface. A standard beach flag kit normally includes pole sections, a printed fabric graphic with a sewn pole pocket, a rotating spindle or bearing, and a base. Some pole sets are connected by elastic cord, while others use separate labeled sections or telescopic joints.
Inspect the pole sections before use. The narrower, more flexible section is usually the top section that forms the curve of a feather or teardrop flag. The thicker sections form the lower part of the mast. Do not force sections together if the diameter looks incorrect. Forcing the wrong pole into a joint can crack fiberglass or damage the connection sleeve.
Also check the graphic orientation. The pole pocket generally runs along one long edge of the flag. If the printed design has a readable front and back, identify which way the flag should face once installed. This matters for directional messages, arrows, pricing, logos, and campaign visuals.
How to Assemble Beach Flags Step by Step
Start by connecting the pole sections from the base upward. For bungee-connected poles, allow each section to find its matching joint and push the sections together firmly until there is no visible gap. Do not bend the pole sharply while assembling it. The upper fiberglass section is designed to flex in use, but it can be damaged by twisting or excessive side pressure during setup.
Once the pole is fully assembled, feed the narrow top end into the pole pocket at the top of the fabric graphic. Continue guiding the pole through the sleeve gradually. Keep the fabric loose and straight as you work. Pulling the graphic aggressively over the pole can strain the stitching, especially at the curved top section.
For feather and teardrop shapes, the flexible top of the pole bends as it reaches the end of the pocket. This is normal. Apply steady pressure rather than forcing the bend in one movement. When the pole reaches the bottom of the pocket, secure the lower loop, elastic cord, or tension strap to the pole base connection. The graphic should be taut enough to show its shape without excessive pulling on the fabric.
Next, insert the bottom of the pole into the spindle on the selected base. Most beach flag bases use a rotating spindle so the flag can turn with the wind. Push the pole straight down until it is fully seated. If the pole sits loosely or at an angle, remove it and check whether the spindle, adapter, or pole end is correctly matched.
Stand back and check the display before placing it in position. The graphic should be smooth, the top curve should follow the flag shape, and the pole should stand upright. A small amount of fabric movement is expected outdoors, but the graphic should not be wrapped around the pole at rest.
Do Not Assemble the Graphic Backward
A common setup error is loading the pole into the wrong side of the flag pocket or installing the graphic upside down. This can reverse the message, position the curved edge incorrectly, or leave the bottom tension loop inaccessible.
Check the logo, text direction, and bottom fastening point before fully tensioning the fabric. Correcting orientation at this stage takes seconds. Correcting it after the flag is attached to a weighted base is slower and can put unnecessary stress on the pole.
Choose the Right Base for the Site
The flag graphic is only one part of the display. Base selection determines whether the installation is practical and safe. A beach flag used in a mall entrance needs different hardware from one installed beside a roadside activation or on an open field.
A cross base is suitable for relatively sheltered hard surfaces, such as indoor exhibition halls, retail walkways, hotel lobbies, and covered event spaces. For outdoor use, pair it with a water bag or weight plate. The cross base is easy to transport and stores flat, but it should not be used without added weight in windy conditions.
A square steel base provides more built-in weight and is a better option for pavement, concrete, and other flat outdoor surfaces. It is useful for business entrances, pop-up counters, and event registration areas where a cleaner footprint is needed. The trade-off is weight. Square bases are less convenient for frequent relocation, particularly when multiple flags are being installed.
For grass, soil, or compacted ground, use a ground spike or screw-in ground stake. A spike should be driven deep enough to remain stable, while a screw base needs firm ground that can hold the thread. Avoid placing these bases in loose soil after heavy rain unless the area has been tested. A flag may look stable at setup and still loosen after several hours of wind movement.
Drive-on bases are designed for vehicle displays. A vehicle tire holds the base in place, making this option useful for automotive promotions, outdoor sales lots, and mobile roadshows. The vehicle must remain parked for the full display period. Do not use a drive-on base where the vehicle may need to leave unexpectedly.
For sand, a ground screw or purpose-built sand anchor is generally more secure than a flat base. A standard cross base with a water bag can work in calm conditions, but loose sand and wind are a difficult combination. If the site is near the coast or in an open, windy area, plan for a stronger anchor or remove the flag when conditions worsen.
Set Up for Wind, Foot Traffic, and Visibility
Beach flags are designed to move, but they are not permanent structures. Wind is the main operating factor. Even a quality fiberglass pole and correctly printed fabric graphic can fail if the base is too light for the site.
Position flags away from door swings, vehicle lanes, sharp corners, overhead cables, and crowded queue lines. Leave enough clearance for the flag to rotate without hitting a wall, signboard, or another display. If several flags are used in a row, space them so the graphics do not tangle when wind direction changes.
For outdoor campaigns, inspect the setup during the event rather than treating installation as a one-time task. Check the base, spindle, pole joints, and fabric tension after strong gusts or heavy rain. If wind becomes severe, remove the flag from the base and store it. A temporary removal is less costly than replacing a broken pole, torn graphic, or damaged base.
Visibility also affects placement. A beach flag works best when it is positioned above competing eye-level signage and pointed toward approaching foot traffic or vehicles. Keep the main logo and message on the upper and center sections of the graphic. Lower areas can be blocked by parked cars, merchandise, people, or crowd barriers.
Pack Down Without Damaging the Hardware
At the end of the event, remove the pole from the base first. Release the bottom tension loop or elastic fastening before pulling the pole out of the graphic. Pull the fabric off gradually from the pole pocket rather than bending the pole backward to free it.
Separate the pole sections carefully and wipe away moisture, sand, or dirt before placing them in the carry bag. If the printed flag is wet, allow it to dry before long-term storage. Packing damp fabric can cause odor, staining, or mildew and may affect the appearance of the print over time.
Fold the graphic loosely along its natural shape. Avoid compressing it under heavy bases or hardware. Store the spindle, poles, base, and graphic together whenever possible so the correct parts are available for the next installation.
A properly assembled beach flag is a fast, reusable branding tool for promotions, retail entrances, exhibitions, and outdoor events. Match the pole and graphic correctly, use a base suited to the surface, and treat wind conditions as part of the setup decision. That practical approach keeps the display upright and the printed message working where it needs to be seen.
Related Posts