A missed dimension, low-resolution logo, or overlooked hardware requirement can turn a simple booth graphic into a last-minute production problem. Knowing how to order exhibition graphics means supplying the right information before printing starts: where the graphic will be used, which display it fits, how it will be viewed, and when it must be ready.
Exhibition graphics are not one product category. A roll-up banner, popup display, fabric backdrop, LED light frame, counter wrap, and directional sign each have different artwork templates, materials, finishing methods, and transport needs. Treat the order as a complete display specification, not just a print file.
Start With the Display Format and Booth Plan
Choose the display hardware before finalizing the graphic size. The visible graphic area is not always the same as the printed area. A roll-up stand may require additional material at the bottom for installation inside the base. A popup display may use separate panels with overlap areas. A fabric display may need bleed for sewing, silicone edge finishing, or tension fitting.
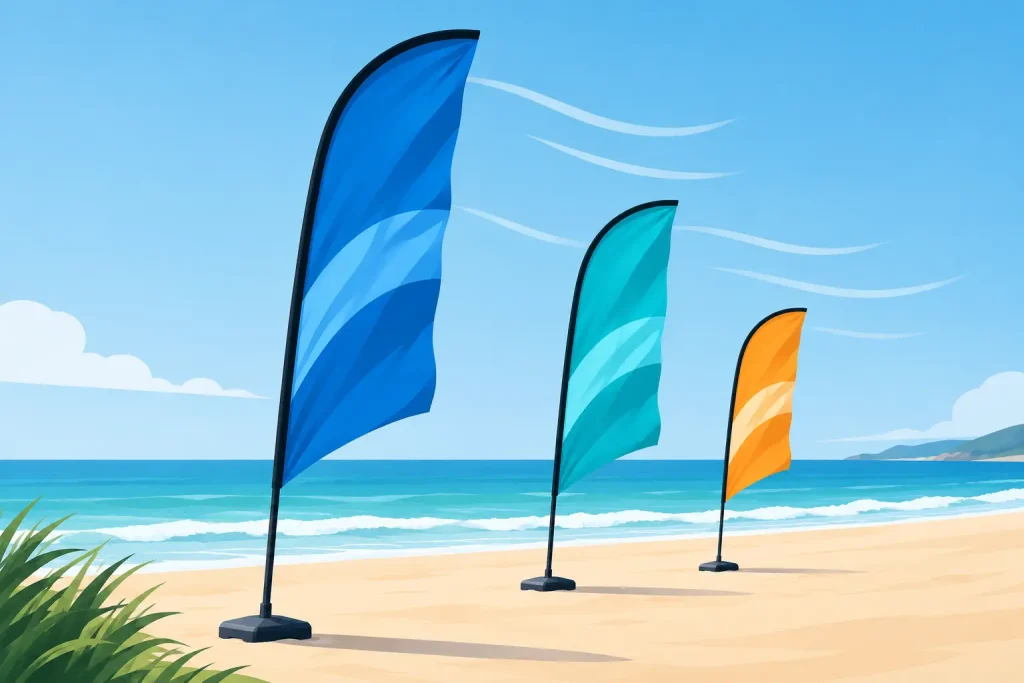
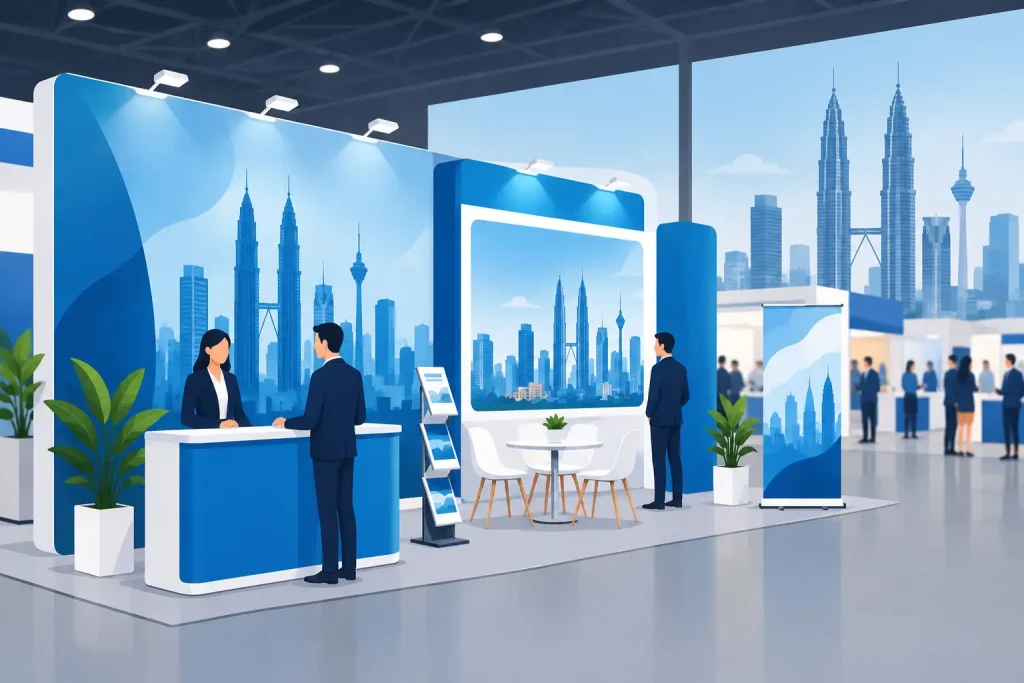
Confirm what the graphic needs to do at the event. A roll-up stand works well for a simple message at an entrance, beside a counter, or in a narrow aisle. Popup displays and modular backwalls suit a main booth message or product launch backdrop. Beach flags are better for outdoor approaches, roadshows, and high-visibility directional branding. LED light frames are useful when the artwork relies on strong color, photography, or a premium retail-style presentation.
For a booth with several components, map each item before ordering. Identify the main backwall, side messaging, product counters, literature stands, hanging signs, and wayfinding graphics. This prevents the common mistake of designing several pieces that repeat the same message while leaving out practical information such as booth number, product categories, pricing, or contact details.
Measure the actual installation area
If you already own the hardware, provide the model name, product code, or exact measured graphic area. Do not estimate from a photo. Hardware from different suppliers can look similar but use different panel widths, pole heights, cassette depths, or frame systems.
For a custom booth or wall graphic, measure the usable face area and note obstacles. Electrical outlets, pillars, doors, fire equipment, counters, shelving, and screen mounts affect both layout and installation. A logo placed behind a monitor or under a shelf is still technically printed, but it is not doing its job.
Prepare Artwork for Large-Format Printing
Large-format graphics are viewed differently from brochures and business cards. Visitors may first see your display from 10 to 30 feet away, then approach it for details. Build the design around that viewing sequence.
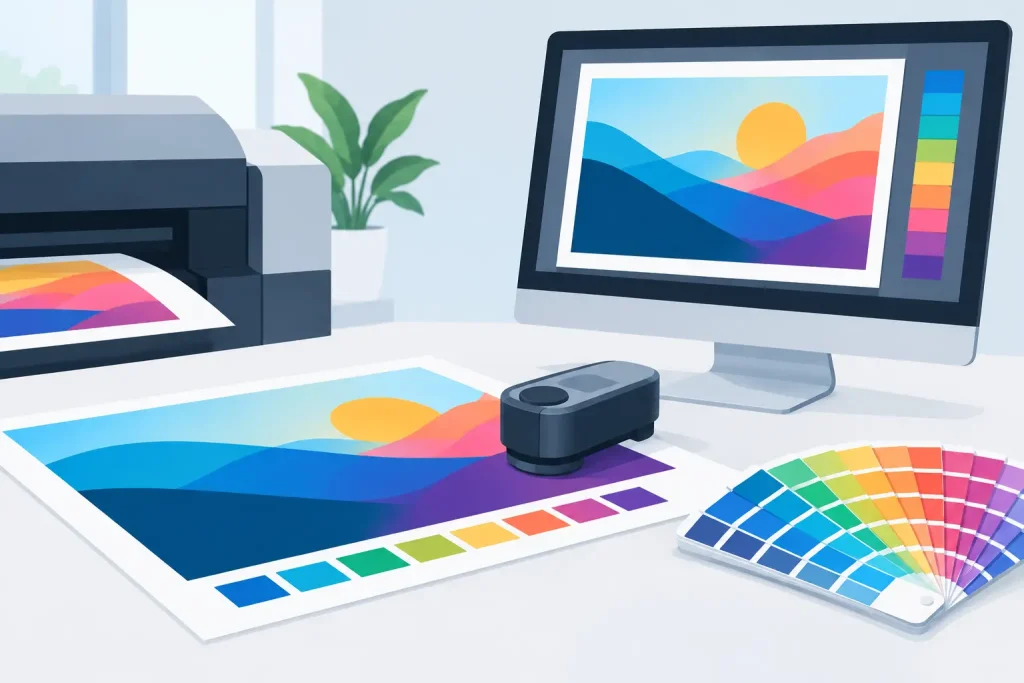
Use vector logos and vector text whenever possible. AI, EPS, PDF, and high-quality print-ready PDF files are generally preferable for logos, icons, and type. Photographs should be supplied at sufficient resolution for their final printed size. A small image taken from a website may look acceptable on a laptop but become soft, pixelated, or noisy on a 10-foot backdrop.
Keep key content away from edges, folds, seams, and hardware zones. This includes logos, QR codes, phone numbers, web addresses, product claims, and faces. Ask for the correct template for the chosen display system and place critical content inside the safe area. Bleed is for trimming or finishing tolerance, not for information you need visitors to read.
Design for distance, not just screen size
A graphic can look crowded on screen even when it prints sharply. Exhibition visitors scan quickly. Your primary message should be readable from a distance, followed by a short supporting statement and then product-level details.
Avoid using long paragraphs on a backwall. A headline, a clear product image, three short proof points, and a call to action usually work better than a full company profile. If detailed specifications are necessary, place them on a counter card, brochure, catalog sheet, or screen where visitors can read them at close range.
QR codes need enough physical size and clear contrast to scan under exhibition lighting. Test the code from a printed sample or at least from the final-sized artwork before production. A code that works from a desktop monitor may fail once reduced, placed on a patterned background, or positioned too close to a frame edge.
Specify the Right Material and Print Method
The material should match the display hardware, venue conditions, campaign duration, and expected handling. There is no single best exhibition substrate. The right choice depends on whether the graphic will be installed once, reused across multiple shows, exposed outdoors, backlit, mounted to a rigid panel, or transported frequently.
PVC banner material is a common option for roll-up stands and certain display systems because it is stable, opaque, and suitable for repeated handling. Fabric graphics are lighter, easier to fold for some systems, and often preferred for tension frames, backdrops, and premium-looking display walls. Rigid boards such as KT board are practical for mounted signs, product displays, and short-term point-of-sale use, although they need protection from damage during transport.
For transparent, metallic, or specialty promotional applications, specify the substrate rather than assuming a standard white print surface. PP white, synthetic, hologram, transparent, matt silver, and Mirrorkote sticker materials create different visual effects and have different installation requirements.
Print method also matters. UV printing is useful for crisp output on a wide range of materials, including rigid applications. Eco-solvent and solvent printing are commonly selected for durable banner and vinyl work. Latex printing can suit indoor graphics where color performance and handling are priorities. Dye sublimation is often used for fabric graphics because the print becomes part of the textile rather than sitting on the surface.
Provide the expected use case when requesting a quote. “Indoor exhibition backdrop used three times” gives a production team much more to work with than “banner print.” If the item will be used outdoors, exposed to sun, installed in humid conditions, or packed and unpacked frequently, say so early.
Include Finishing, Hardware, and Packing Details
Printing is only one part of the order. Finishing determines whether the graphic can be installed correctly. Depending on the product, this may include hemming, eyelets, pole pockets, silicone edge graphics, welding, panel trimming, lamination, mounting, or fitting the print into a roll-up cassette.
State whether you need graphics only, hardware only, or a complete display system with printed graphics installed. Ordering both from one supplier reduces the risk of a print that does not fit the frame, stand, or light box. It also makes accountability clearer if an artwork template or finishing detail needs adjustment before production.
Think about transport at the same time. A large rigid board may be effective on site but difficult to move in a standard vehicle. A popup display may include a case, while a fabric wall may pack into a compact bag. If your team is traveling between events, reusable hardware and replacement graphics can be more cost-effective than ordering a new full system every time.
How to Order Exhibition Graphics on a Real Deadline
Work backward from the event setup date, not the opening date. Include time for artwork approval, production, finishing, packing, delivery, and on-site installation. If your booth is being built by another contractor, confirm when graphics can be installed and whether they must arrive at the venue, warehouse, or contractor’s workshop.
Send one clear order brief with the quantity, product format, finished size, artwork files, material preference if known, finishing requirements, hardware requirement, delivery location, and required date. Include a contact person who can approve proofs quickly. Delays often come from fragmented instructions sent across multiple messages, not from the print process itself.
Before approving production, check the proof for spelling, phone numbers, URLs, QR codes, logo versions, colors, panel order, and final dimensions. Confirm whether the proof shows bleed, safe areas, seams, or hardware allowances. This is the point to correct errors. Once a large-format job is printed, changes may require a full reprint.
For repeat events, keep a record of approved sizes, templates, material choices, and artwork versions. My Inkjet can supply display hardware and printed graphics together, but a clear internal record also helps your marketing team reorder matching pieces without starting from zero.
A good exhibition graphic order leaves no guesswork for the production team or the installer. Specify the display, provide production-ready artwork, confirm material and finishing, and allow enough time to proof the job properly. The result is a graphic that fits the hardware, reads clearly across the aisle, and arrives ready to install.
Related Posts