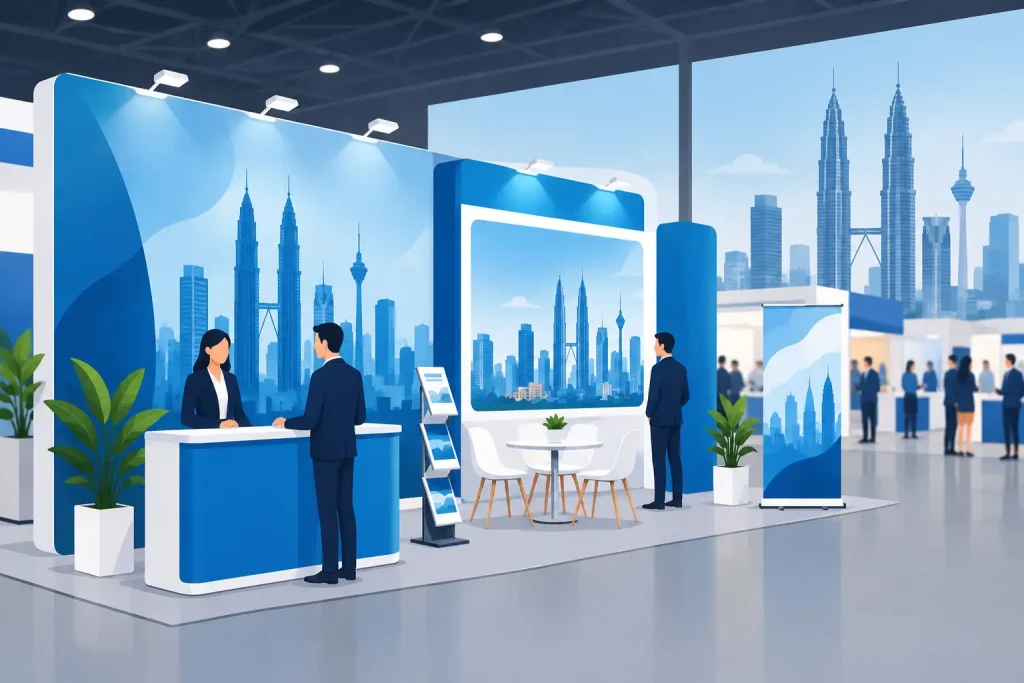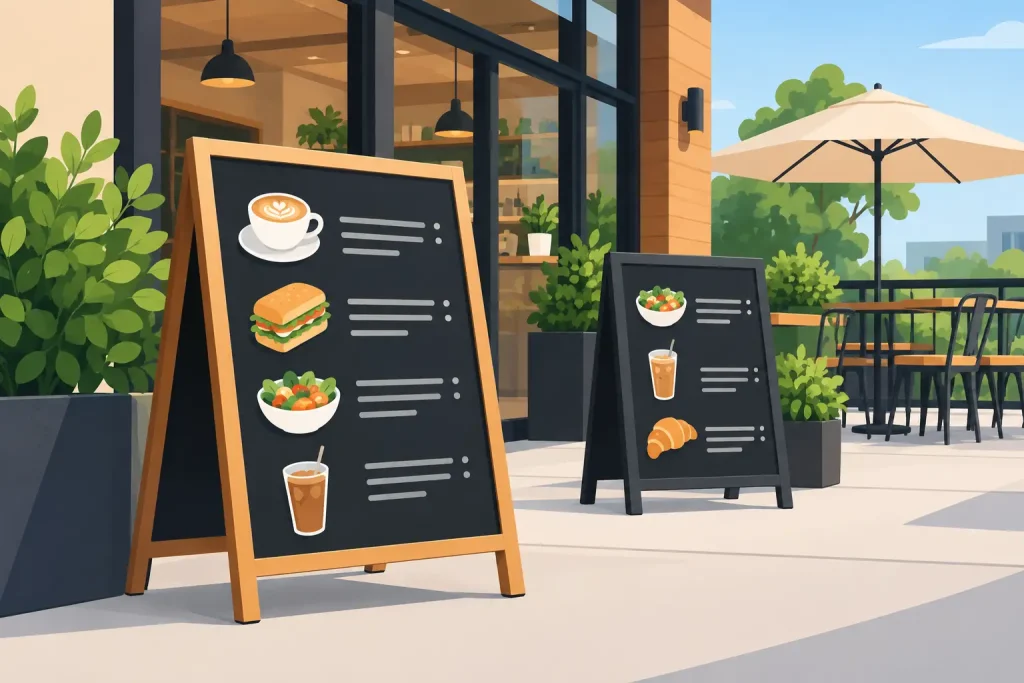
A storefront has only a few seconds to tell people what the business is, whether it is open, and why they should walk in. Knowing how to plan storefront branding means treating that frontage as a working sales surface, not simply a place to attach a logo. The sign, window graphics, entry area, and promotional displays must be readable from the street, consistent with the brand, and suitable for the actual site conditions.
For retailers, restaurants, service outlets, showrooms, and temporary activations, the strongest plans start with practical decisions: viewing distance, available mounting points, daylight, local rules, campaign duration, and print material. Design comes after those conditions are clear.
Start With the Storefront’s Job
Before selecting a sign type, define what the storefront must achieve. A permanent retail outlet may need to build recognition and make the entrance easy to find. A seasonal campaign may need to announce a discount, new product line, or limited-time event. A showroom may need to communicate a more detailed service offering to visitors who already have interest.
Write one primary message for the front of the premises. This is usually the business name, a core category, or a campaign offer. Trying to show the logo, full product list, social channels, multiple price offers, and several calls to action on one fascia or window makes the display harder to scan.
Then separate information by priority. The business name and category should work at a distance. Trading hours, QR codes, contact details, and promotion terms belong closer to the entrance or at eye level. This hierarchy prevents the common problem of using large-format print for information that nobody can read from the road.
Survey the Site Before Designing
A storefront branding plan should begin with a site survey and measurements. Photograph the frontage straight on and from both directions of pedestrian or vehicle approach. Measure the usable width and height of the fascia, windows, pillars, glass doors, awnings, walls, and any sidewalk area where freestanding hardware might sit.
Also record obstructions. Trees, parked vehicles, lamp posts, neighboring signs, security shutters, and interior shelving can affect visibility. A graphic that looks strong on a flat design file can disappear once split by window frames or partly blocked by displays inside the store.
Lighting deserves the same attention. Note where direct sun falls in the morning and afternoon, whether headlights hit the front at night, and whether the premises are visible after dark. An LED light frame can improve visibility in a mall corridor, transit area, or evening-facing retail site. For a sun-exposed external window, a material with suitable opacity and a durable print process may matter more than added illumination.
In Kuala Lumpur and other high-traffic commercial areas, site conditions can change quickly due to rain, heat, construction, or neighboring tenant activity. Plan for cleaning access, water exposure, and replacement panels where appropriate rather than assuming every graphic will remain pristine without maintenance.
Build a Storefront Branding System
The storefront should look coordinated without forcing every surface to carry the same artwork. Use a simple system: a main identifier, supporting windows or walls, and changeable campaign components.
The main identifier is often a fascia sign, mounted frame, illuminated panel, or primary logo graphic. It should use the approved logo, correct color values, and enough contrast against the building background. A dark logo on tinted glass or a light logo on a pale wall may technically match the brand guide while failing in real viewing conditions.
Supporting surfaces can explain the offer. Window stickers, PP white prints, transparent stickers, matt silver stickers, or mounted panels can carry product images, service categories, and directional information. Transparent material is useful when natural light and some inward visibility should remain. Solid white or synthetic media works better where the message needs maximum opacity. The right option depends on how much interior visibility the operator needs and whether the graphic is short-term, promotional, or permanent.
Keep campaign messaging replaceable. Rather than rebuilding a full shopfront for every promotion, reserve windows, poster frames, counters, roll-up stands, or light frames for messages that will change. Your permanent investment stays focused on recognition, while printed campaign graphics can be updated as stock, pricing, or seasonal priorities change.
Choose Formats by Viewing Distance
Format selection should follow how people encounter the storefront. A person walking past can take in a short headline and large image. A driver needs an even simpler message, larger type, and clearer contrast. Someone standing at the door can read details such as operating hours, menu highlights, financing information, or a QR code.
For the main frontage, mounted aluminum frames, wooden frames, rigid boards, and illuminated signs suit fixed branding depending on the site aesthetic and installation method. KT board stands and other rigid display options can support indoor-facing window promotions where a lightweight solution is adequate. Do not use a temporary board where the display will face heavy weather, repeated handling, or a premium long-term installation requirement.
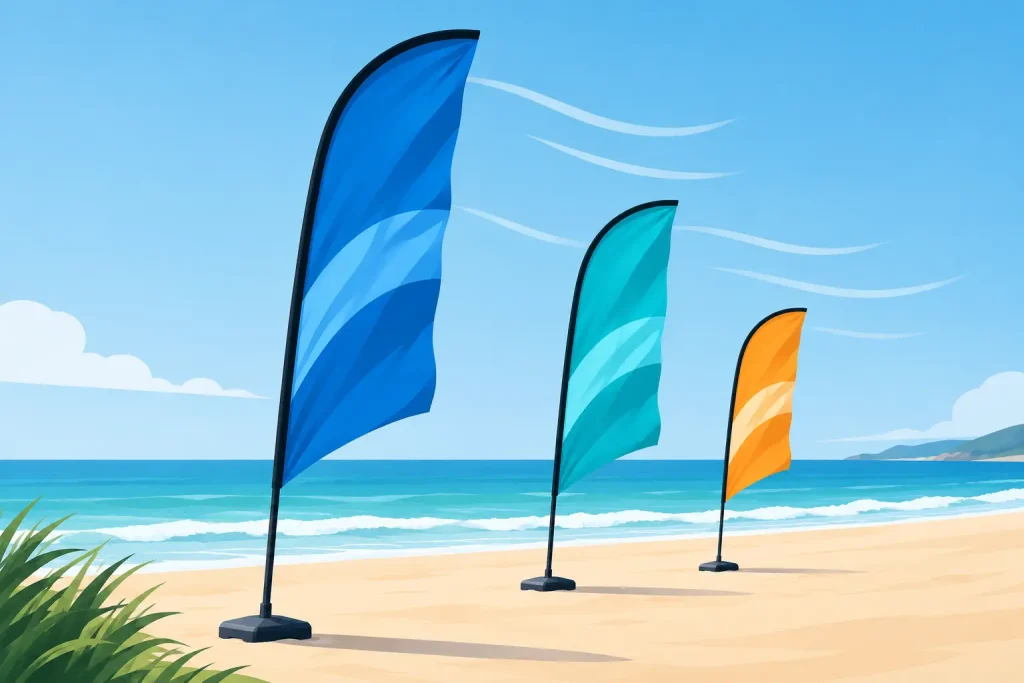
For entrances and nearby walkways, roll-up stands, counters, beach flags, and barricade displays can extend the message beyond the wall. Beach flags work best where there is enough open space and foot traffic can see movement from a distance. Roll-up stands are more controlled for covered entrances, malls, launches, and interior-facing windows. They are not a substitute for a readable main sign, but they can carry a timely offer without altering fixed branding.
Specify Print and Material for the Environment
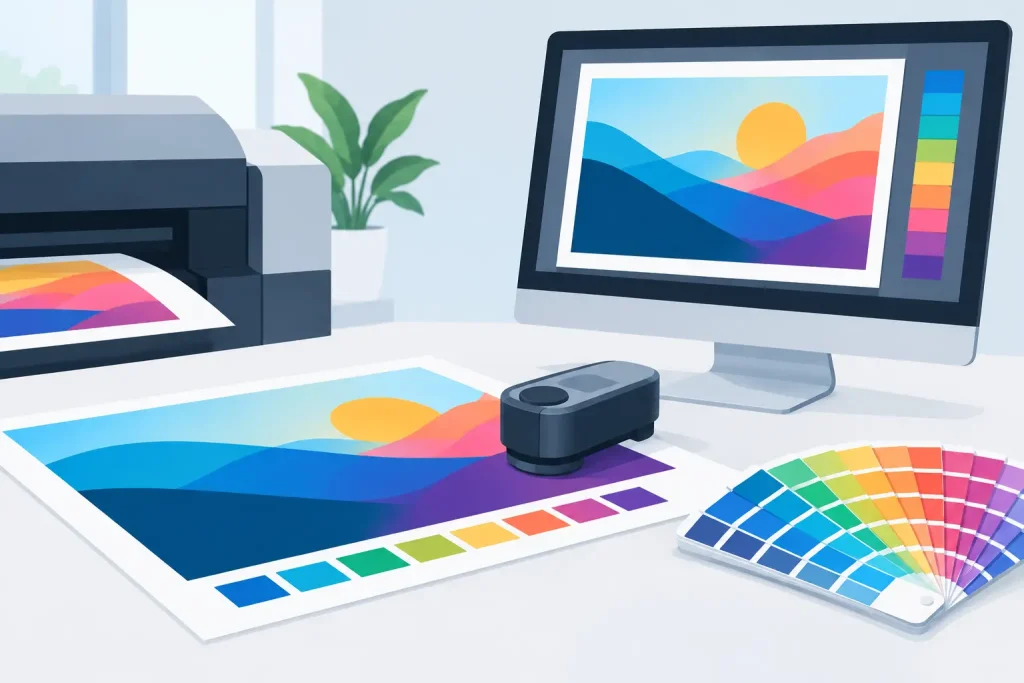
Print method is part of storefront planning because it affects finish, durability, material compatibility, and intended use. UV printing is useful for sharp graphics on a range of rigid and specialty materials. Eco-solvent and solvent print options are commonly considered for durable signage and vinyl applications. Latex printing can suit projects where color quality and practical production requirements are priorities, while dye sublimation is generally suited to textile-based display graphics.
There is no single best print method for every storefront. A short indoor launch graphic does not need the same material specification as an external window campaign exposed to sunlight and frequent cleaning. Ask the production supplier to match the artwork, substrate, installation surface, and planned display period before finalizing the order.
Finish options also affect legibility. Gloss can make colors appear strong but may produce glare under direct lights or sun. Matte finishes are often easier to read in bright retail environments. Hologram, transparent, and matt silver stickers can create a distinct effect, but specialty materials should support the message rather than compete with it. A small premium detail can work well. A full storefront of reflective effects can reduce clarity.
Prepare Artwork for Production, Not Just Approval
A branding layout approved on a laptop still needs production checks. Supply logos as vector files where possible, use high-resolution images at final size, and confirm the correct color mode and dimensions. Include bleed for prints that wrap, trim, or mount into frames. Keep key text and logos away from edges, door handles, window mullions, and trim areas.
Check type size at the actual viewing distance. If the offer cannot be understood from a scaled printout or on-site mockup, making the type slightly larger is usually more effective than adding another graphic element. Avoid thin fonts, low-contrast color combinations, and long lines of copy on street-facing surfaces.
For window graphics, mark where glass doors open, where decals may be interrupted, and which areas must remain clear for safety or operational visibility. If installation requires multiple panels, make sure images and lines align across panel joins. This is especially important for large logos, faces, product packs, and repeated patterns.
Plan Installation, Maintenance, and Changeovers
Installation is not the final administrative step. It affects what hardware, material, and artwork should be ordered from the start. Confirm wall condition, frame fixing points, electrical access for illuminated units, glass cleaning requirements, and site access times. Shopping centers, offices, and commercial buildings may require contractor approval, insurance documentation, or installation outside operating hours.
Create a simple rollout sequence: install the permanent identifier first, then window graphics, then entrance displays and promotional hardware. This keeps the brand recognizable even if a campaign graphic is delayed. For multi-location programs, use the same approved artwork files and specifications while allowing for each site’s different dimensions and mounting conditions.
Set a review date for every temporary element. Faded stickers, outdated offers, and damaged stand graphics weaken the impression of the entire store. Replacing only the printed graphic on reusable hardware is often more efficient than purchasing a new display system for each promotion.
A good storefront plan gives customers a clear reason to notice the business before they reach the door. Keep the permanent message simple, choose materials for the environment, and reserve flexible display formats for what needs to change. That approach makes each printed piece easier to specify, install, and keep working on the street.
Related Posts