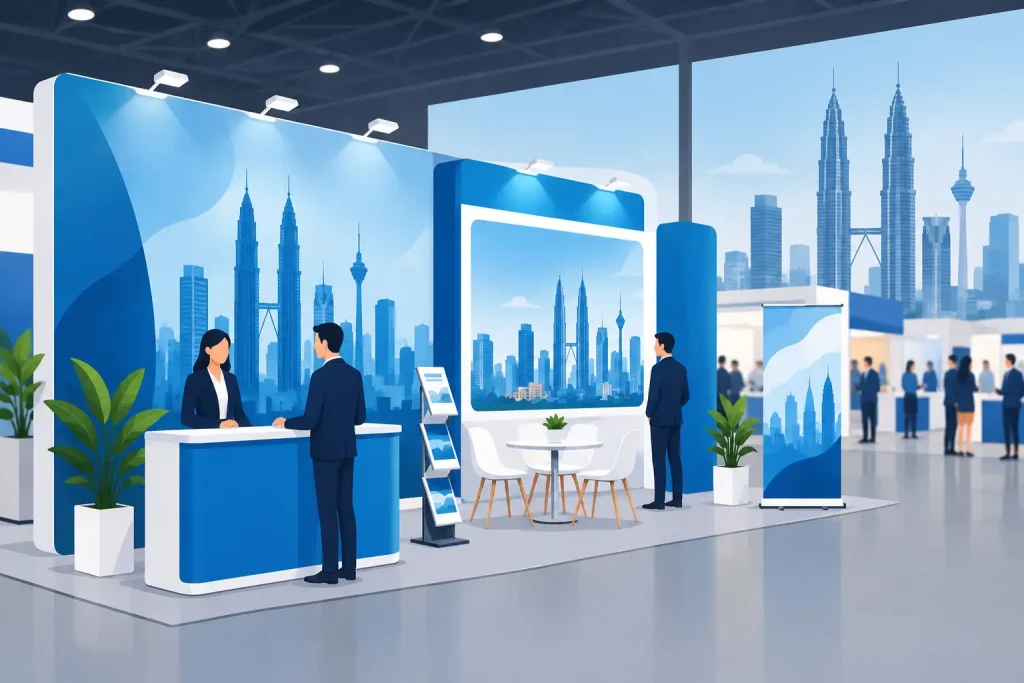
A backdrop that looks correct on a screen can still fail on site. The common problems are practical: the artwork does not match the frame size, text disappears behind speakers, the material reflects under event lighting, or the print arrives without the hardware needed to install it. Knowing how to order event backdrops means treating the backdrop as a complete display system, not only a large printed graphic.
For trade shows, product launches, media walls, retail activations, and corporate events, start with the space and installation method. Then select the display format, print material, artwork setup, and production schedule that suit the job.
Start With the Backdrop’s Job and Location
Before choosing dimensions or fabric, define what the backdrop needs to do. A sponsor wall used for photos has different requirements from a stage background viewed from 50 feet away. A retail promotion may need to fit a wall precisely, while a temporary roadshow display may need to pack into a vehicle and install quickly.
Measure the usable area, not just the room. Account for doors, columns, air-conditioning units, screens, stage equipment, tables, and lighting. If people will stand in front of the backdrop, identify the area that will remain visible in photographs. Keep logos, event dates, QR codes, and key messages above shoulder height or at the outer edges of the graphic.
Also consider the viewing distance. Large branding viewed across a hall needs fewer, larger elements. A backdrop used for close-up photography can carry more logos and smaller supporting text, but it still needs clean spacing. Trying to place every campaign message on one panel usually produces a crowded result.
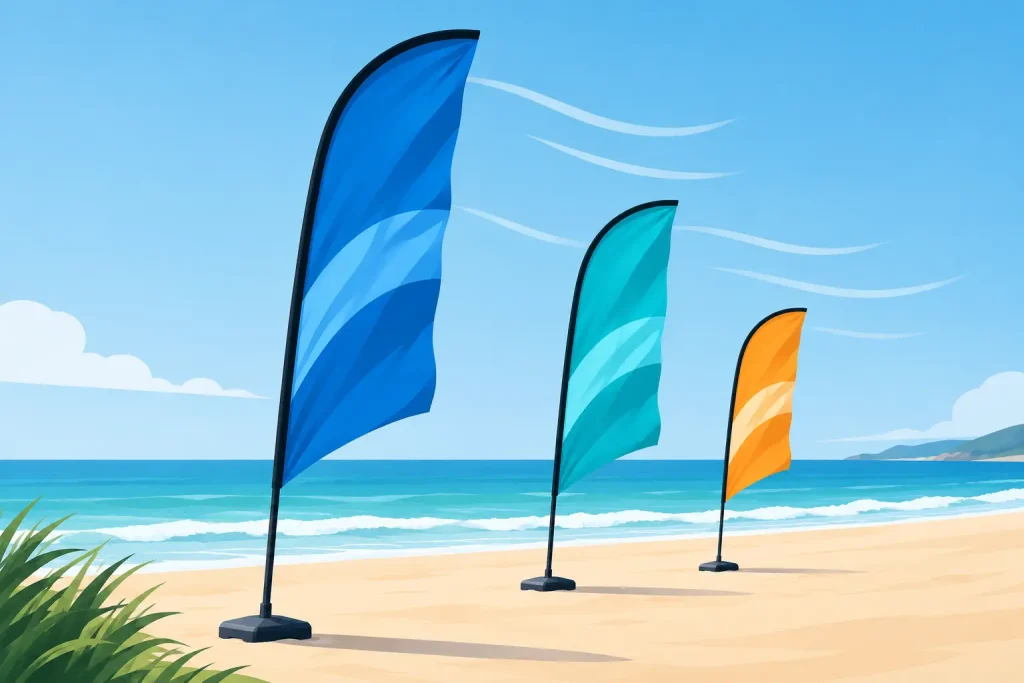
For outdoor use, check exposure to wind, rain, and direct sun. A lightweight indoor backdrop system may not be appropriate outdoors without additional support or weighting. If the installation will run for several days, confirm whether the display needs a more durable frame, weather-resistant print material, or replacement graphics.
Choose the Correct Backdrop Format
The format determines portability, stability, graphic size, and how the backdrop is assembled. Ordering the print before deciding on the hardware is one of the most expensive avoidable mistakes.
A tension fabric backdrop uses a stretch fabric graphic fitted over an aluminum frame. It is a practical option for trade show booths, photo areas, and repeated indoor use because it creates a smooth, finished surface with minimal glare. The frame and fabric are generally designed as a matched system, so the artwork must follow the supplier’s exact template.
A pop-up display is useful when fast installation and portability matter. The graphic attaches to a collapsible frame, creating a wide promotional wall without the complexity of a custom-built structure. It works well for exhibitions, presentations, and temporary brand zones, although its available sizes and panel layout should be confirmed before artwork begins.
A PVC banner or printed panel mounted to a wall, frame, or existing structure can be a cost-effective choice for one-time events. This route offers flexibility in size, but it requires a clear installation plan. Decide whether the backdrop will use eyelets, pole pockets, rope, clips, Velcro, or direct mounting. Do not assume a venue wall can be drilled into or that tape will hold a large graphic for a full event day.
LED light frames suit retail campaigns, launch areas, and indoor spaces where illuminated branding is part of the presentation. They require compatible backlit print material and access to power. A standard front-lit graphic will not produce the same even result in a light frame.
For a media wall or sponsor backdrop, a freestanding frame with a tensioned banner is often the cleanest option. If the event is small and the background only needs to cover a limited area, several roll-up stands may be more practical than one large structure. The best choice depends on the available space, reuse plans, transport limits, and visual expectation.
How to Order Event Backdrops With the Right Specifications
Once the format is selected, prepare a specification that covers both the print and the hardware. A clear order brief reduces back-and-forth and gives the production team the information needed to check suitability before printing.
Include the finished width and height, the display type, whether hardware is required, the installation location, and the date the backdrop must be ready. State whether the job is indoor or outdoor and whether the graphic will be used once or stored for future events. If you are replacing an existing graphic, provide the exact model or a photograph of the frame. Similar-looking systems can use different graphic dimensions, fixing methods, and tension allowances.
Material selection should follow the application. PVC is common for banners and larger temporary graphics. Fabric gives a softer, more premium finish for exhibition walls and photo backdrops. Rigid boards can work for smaller branded panels or freestanding signs, while backlit film is made for LED light frames. Ask for a material recommendation when the event environment is unusual, such as an outdoor venue, a high-traffic mall, or a space with strong spotlights.
Print method also matters, particularly for large blocks of color, fine product images, and close-up viewing. UV, eco-solvent, latex, solvent, and dye-sublimation printing each suit different substrates and applications. Dye sublimation is commonly used for fabric graphics because the color is integrated into the textile. UV printing can be appropriate for rigid or specialty materials. The right process depends on the selected substrate and required finish, not simply the highest stated resolution.
Finishing details need to be specified at the same time as the print. These may include sewn edges, eyelets, pole pockets, silicone edging for fabric frames, hemming, lamination, mounting, or trimming. A banner with eyelets in the wrong position can be difficult to tension correctly. A fabric graphic made without the required edge finishing will not fit its frame.
Set Up Artwork for Large-Format Printing
Large-format artwork should be built at the final proportion and according to the supplier’s template. Do not use a social media post, a slide presentation, or a low-resolution website image as the starting file for a 10-foot-wide backdrop.
Use vector files for logos, text, icons, and simple graphics whenever possible. Vector artwork remains sharp at large sizes. Photographs should be high resolution at their final printed size. A small image may look acceptable in a draft layout but become soft, pixelated, or noisy when enlarged across a full backdrop.
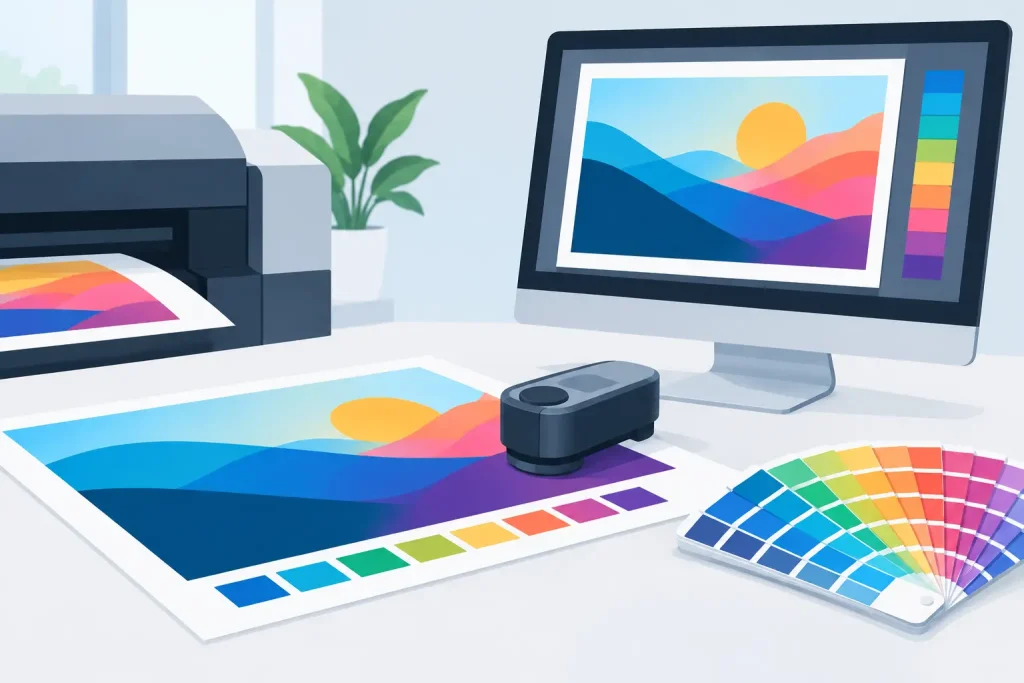
Work in CMYK when preparing print artwork. Screen colors are produced with light, while printed colors are produced with ink, so bright RGB colors can shift after conversion. Brand colors that need close matching should be identified early, especially for corporate logos, franchise campaigns, and product packaging. A proof or color reference may be worthwhile for jobs where exact appearance is critical.
Keep all important content inside the safe area. The outer edge of a backdrop may be wrapped around a frame, hidden by hardware, trimmed during finishing, or covered by folds. The production template will show bleed, trim, and safe zones. Background images and color blocks can extend into the bleed area, but logos and text should not.
For photo backdrops, arrange repeated logos in a pattern that remains visible when people stand in front of it. Avoid placing logos too close to the center at head height. For stage backdrops, test whether the main headline can be read from the furthest audience position. A good rule is to simplify before increasing font sizes at the last minute.
Confirm Lead Time, Delivery, and Installation
Production time is only one part of the schedule. Artwork review, revisions, material availability, finishing, packing, delivery, and venue access all affect when the backdrop can be installed. If the event has a fixed opening time, set an internal artwork deadline well before the required delivery date.
Ask whether the quoted turnaround begins after final artwork approval. This distinction matters when several stakeholders need to approve branding. Last-minute changes can require a full reprint, particularly if the graphic includes sponsor logos, dates, pricing, or legal text.
Confirm how the display will be packed and transported. Large rigid panels need different handling from rollable PVC graphics or fabric skins. For reusable event hardware, check whether a carry bag, case, or protective packaging is included. If your team is installing the display, request assembly instructions and confirm the tools, weights, or wall fixings required.
For multi-city campaigns, standardize the artwork version, hardware model, and finishing specification. This makes replacement prints easier and keeps every event location visually consistent. My Inkjet can supply display hardware and printed graphics together, which helps avoid mismatches between a frame from one source and a graphic from another.
Check the Order Before Production
Before approving the job, review the finished size, orientation, material, frame compatibility, artwork version, and delivery date in one place. Check spelling, phone numbers, URLs, sponsor names, and event dates at 100% attention. These details are inexpensive to correct in a file and costly to correct after print production.
A backdrop is usually one of the largest branded surfaces at an event. Give the order enough planning time to match the print, material, finishing, and hardware to the actual site. The result is a display that installs cleanly, photographs well, and remains usable after the event ends.
Related Posts