A roll-up stand can be ready in less than a minute, but a rushed setup can crease the print, bend the support pole, or let the banner retract into the base. To install roll up banner hardware correctly, work on a clean, flat surface and handle the graphic as a printed display panel, not as a loose sheet of material.
Roll-up banners are used for exhibitions, retail promotions, roadshows, reception areas, product launches, and point-of-sale campaigns because they pack down into a compact carry bag. The mechanism is simple: a spring-loaded base stores the graphic, while a pole supports it at full height. The details matter, especially when the same display will be installed and packed away repeatedly.
Check the Roll Up Banner Parts Before Setup
Most standard roll-up banner sets include the aluminum base with the printed graphic already installed, one or more support-pole sections, a top rail or graphic clamp, and a carry bag. Economy, standard, double-sided, wide-format, and premium roll-up models can use different pole systems, so check the supplied parts before forcing anything into place.
Before installation, inspect four items: the base feet or stabilizers, the pole sections, the top edge of the graphic, and the spring tension inside the cassette. The printed panel should roll out evenly without visible edge damage. If the material catches, pulls to one side, or has been stored under heavy items, correct the problem before the banner is used in front of customers.
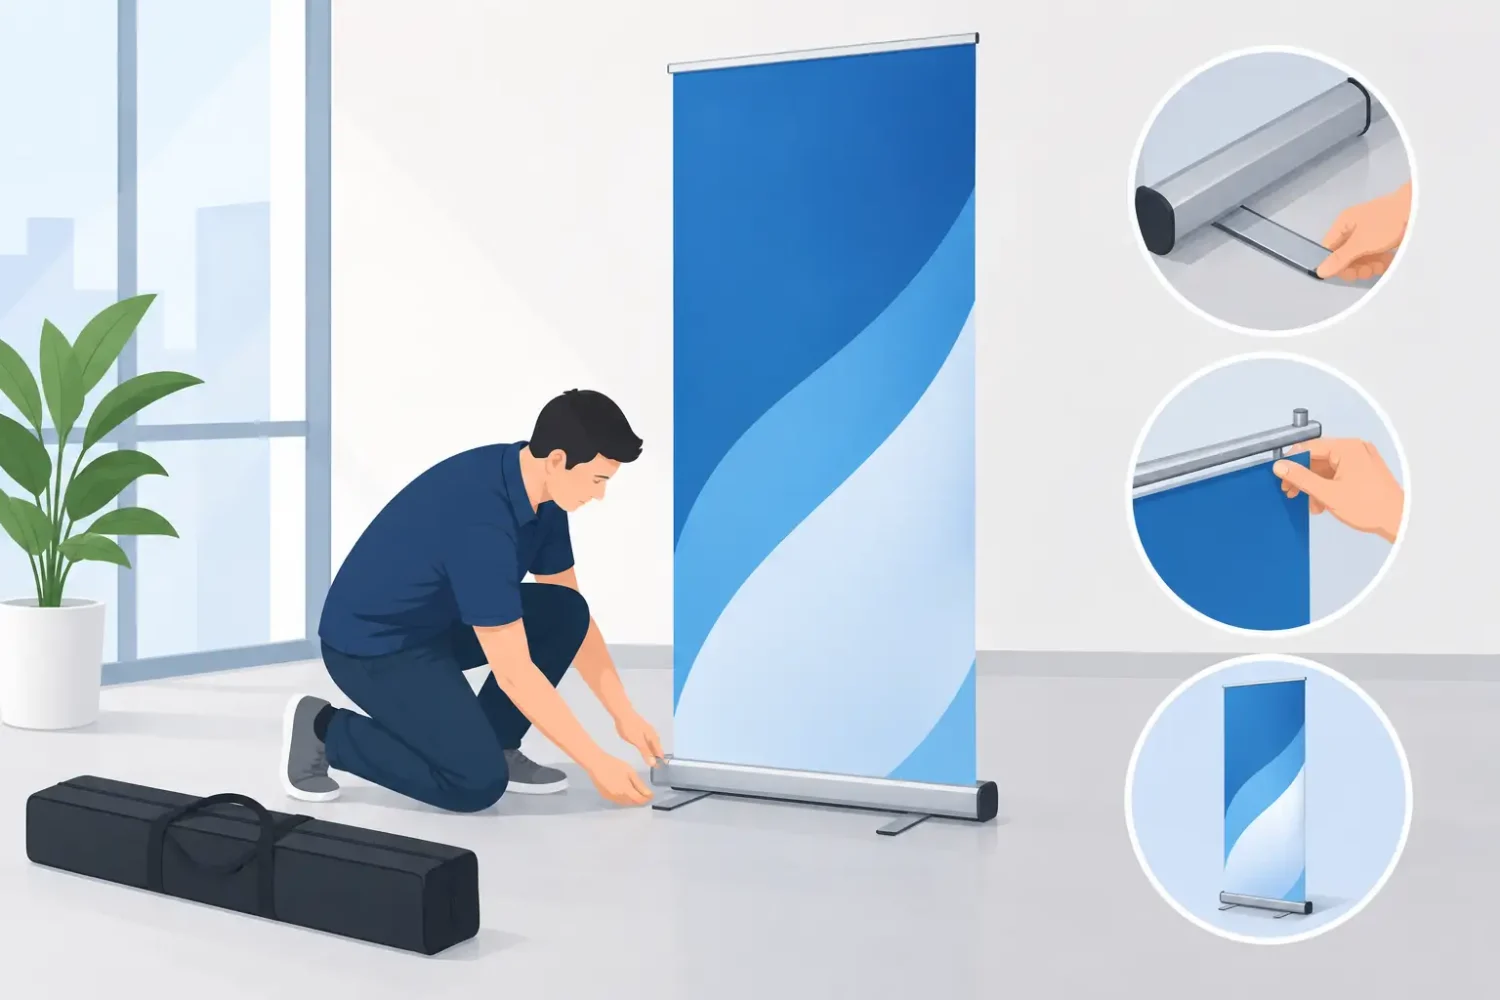
Place the base on the floor with the graphic opening facing the display direction. If the unit has rotating feet, turn them outward fully. These feet increase the footprint of the stand and reduce movement when people walk nearby or when air conditioning creates a draft. For a narrow single-sided roll-up, this small adjustment makes a practical difference.
How to Install Roll Up Banner Hardware
Start by assembling the support pole. Many units use a bungee-connected aluminum pole that snaps together in sequence. Others use telescopic poles, which extend and lock at the required height. Assemble the pole first so it is ready before the graphic is pulled out.
Insert the bottom of the pole into the receiving hole at the rear or center of the base. It should sit straight without excessive force. If it does not fit, remove it and check whether a pole section is reversed, incomplete, or intended for another stand model. Do not twist the pole aggressively inside the base, as this can wear the fitting or scratch the finish.
Next, hold the top rail of the banner with one hand and pull the graphic upward slowly. Keep the panel centered as it rises. The spring mechanism creates tension, so do not let go of the rail until it is attached to the top of the support pole.
Hook or slot the top rail onto the pole fitting. On telescopic systems, extend the pole to the correct height before securing the rail if the design requires it. Step back and check that the graphic is vertical, the top rail is level, and both lower corners are rolling out evenly from the base.
A correctly installed roll-up banner should have light, even tension. The print should look flat from normal viewing distance, without a loose center area or a noticeably diagonal edge. Minor curl at the sides can happen after storage, particularly with thin PVC media, but a major wave or slant usually indicates that the graphic is not tracking straight in the cassette.
If the Graphic Is Not Pre-Installed
Some buyers receive separate hardware and print graphics for replacement, campaign changes, or bulk display production. Installing a fresh graphic into a roll-up cassette is more technical than normal setup because the internal spring is under tension.
First, confirm the print size, bleed area, and finished orientation match the stand. A roll-up graphic must be square-cut and correctly aligned to the bottom adhesive strip or leader film. Even a small angle at the bottom can cause the banner to track sideways during retraction.
Secure the spring mechanism according to the stand design before removing an old graphic. Attach the new print evenly across the full width, using the specified adhesive method or clamp. The top rail must also be fitted straight. Test the movement gradually, pulling the graphic out and allowing it back in under control. If the cassette has a tension-adjustment feature, use only the recommended procedure. Over-tensioning can damage the spring, while insufficient tension leaves the panel loose.
For frequent graphic replacement, confirm that the hardware was designed for changeable cassettes. A standard fixed roll-up stand is often better treated as a complete hardware-and-print unit rather than repeatedly dismantled on-site.
Keep the Print Clean and Stable During Use
Installation is only part of the job. The display must remain presentable for the full duration of a promotion, exhibition, or retail campaign. Position the stand on level flooring and keep it clear of door swings, service counters, and high-traffic corners where the base can be kicked.
Avoid placing a roll-up banner outdoors unless the hardware is specified for that environment and conditions are calm. A lightweight indoor base is not a substitute for a weighted outdoor display. For exterior promotions, a beach flag, barricade display, or purpose-built outdoor stand may be the better format.
Keep the graphic away from heat sources, wet floors, and direct contact with tape, clips, or sharp objects. Solvent, eco-solvent, UV, latex, and dye-sublimation print methods can each provide different results depending on the media and intended use, but no printed surface benefits from rough handling. Choose the media and laminate based on expected handling, lighting, and campaign duration.
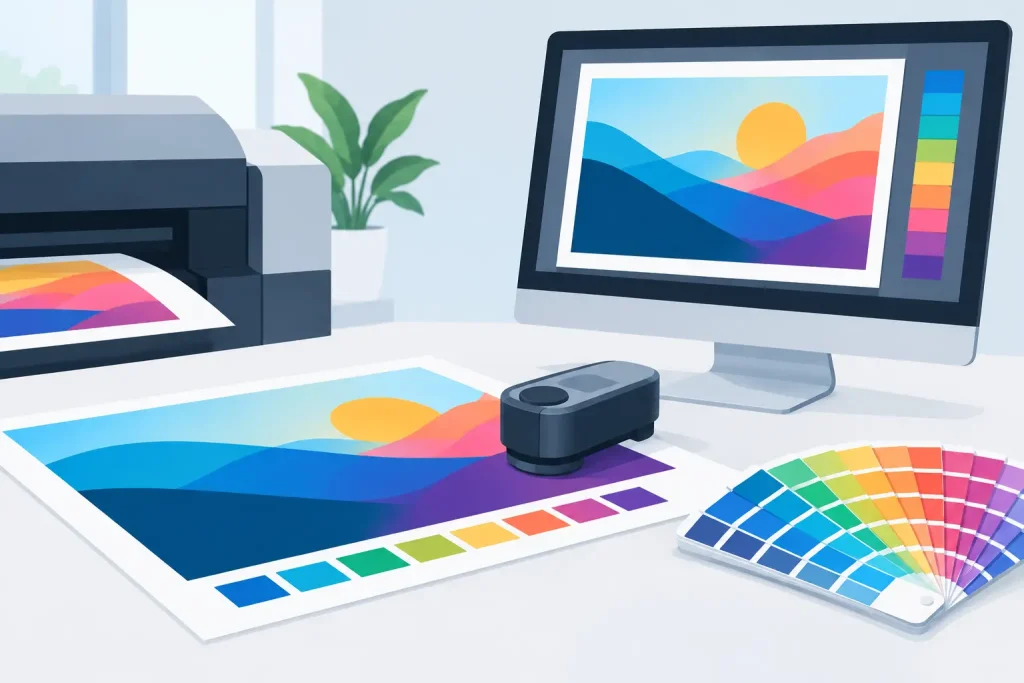
If the stand is used under strong exhibition lighting, check the print before the event opens. Color, fine text, and image detail can read differently under LED fixtures than under office lighting. This is especially relevant for brand colors, product pricing, QR codes, and small promotional copy.
Packing Down Without Damaging the Stand
To pack down the display, hold the top rail firmly and lift it off the support pole. Guide the graphic down slowly into the base. Never release the rail and allow the spring to pull the panel back at full speed. Fast retraction can crease the media, damage the top rail, or cause the graphic to hit the cassette opening.
Remove the pole from the base and fold or collapse it according to its design. Store the pole in its dedicated compartment if the carry bag has one. Placing it directly against the printed surface can cause pressure marks during transport.
Before putting the unit into the bag, wipe dust from the base and check that the graphic has retracted fully. Store the roll-up banner horizontally or upright in a dry location where it will not be crushed by boxes, frames, or exhibition equipment. Long-term storage in excessive heat can affect adhesive areas and cause some print media to curl.
Common Setup Problems
If the banner leans forward or backward, the support pole may not be fully seated, the base feet may be closed, or the floor may be uneven. If the graphic comes out at an angle, do not keep pulling it tighter. Retract it carefully and inspect the bottom edge, top rail, and cassette opening for obstructions.
If the top rail keeps slipping from the pole, check that the correct hook, cap, or magnetic fitting is being used. Different roll-up systems are not always interchangeable, even when the poles appear similar. When ordering replacement parts, match the stand model, width, and pole style rather than choosing by height alone.
Wrinkles across the print can result from poor storage, rough retraction, or a graphic that was fitted under uneven tension. Light surface curl may settle after the banner has been displayed for a short time. Deep creases usually require a replacement graphic for a professional result.
For campaign materials that need to move between branches, exhibitions, and sales events, standardize the stand type, print width, and carry-bag format across the order. My Inkjet can supply display hardware and printed graphics together, helping procurement teams avoid mismatched components and last-minute fitting issues.
A roll-up banner is a simple display format, but it performs best when the hardware, graphic material, and installation method are treated as one system. Set it up slowly, retract it under control, and the same unit can keep presenting your message cleanly across repeated campaigns.
Related Posts