A foamboard panel can look sharp at a counter, on a showroom wall, or beside a product display. It can also show every small application error. To mount graphics on foamboard cleanly, the print, adhesive, board condition, and finishing method need to suit the job. A fast, low-cost panel for a one-day event has different requirements than a retail promotion expected to stay flat for several weeks.
Choose the foamboard and graphic for the environment
Foamboard is a lightweight rigid board with a foam core and paper or plastic facing. It is widely used for point-of-sale signs, presentation panels, directional graphics, menu boards, and temporary exhibition displays. Standard white foamboard is easy to cut and economical, but it is not the best choice for every location.
For indoor, short-term work, standard foamboard is usually sufficient. It is suitable for mounted photo prints, promotional graphics, and display panels that will be handled carefully. If the panel will be placed near moisture, frequent handling, or strong lighting, consider a board with a more durable plastic surface, such as PVC foam board or KT board. These options generally resist dents and surface damage better than paper-faced foamboard.
The graphic material matters just as much. A self-adhesive vinyl print is practical for most commercial applications because it can be applied directly to the board. PP white, synthetic paper, and photo media can also be mounted, but they require the right adhesive system. For large-format prints, a smooth, opaque graphic material helps prevent the texture or color of the substrate from showing through.
Do not mount a graphic that has just come off the printer if it was produced with solvent or eco-solvent ink. Allow adequate outgassing time before laminating or mounting. Trapped solvent can lead to bubbles, lifting edges, or adhesive failure later. UV and latex prints have different curing behavior, but they should still be inspected before application for curling, ink defects, and edge damage.
Prepare the board before mounting graphics on foamboard
A clean board is non-negotiable. Dust, loose foam particles, fingerprints, and small dents will be visible under a smooth printed graphic. Lay the foamboard on a clean, flat worktable and inspect both sides before starting. Use a soft, dry cloth to remove debris. Avoid soaking paper-faced foamboard with cleaning liquid, as moisture can cause the face paper to swell or warp.
Check the board for bowing. A bowed board is difficult to mount accurately and can pull against the graphic after application. Store foamboard flat, in a dry indoor area, and avoid resting full sheets upright for long periods. If the panel will be used in an air-conditioned retail space after being stored in a humid area, allow both board and print to acclimatize before mounting.
Trim the graphic with sufficient bleed. A 0.1 to 0.2 inch bleed around the panel gives the production team room to align the print and trim it flush after application. Trying to place a graphic with no bleed exactly on the board edge usually results in exposed white edges or uneven alignment.
For a double-sided foamboard display, mount the first side, trim it, then mount the second side. This sequence keeps the board easier to handle and gives a cleaner final edge. Be aware that double-sided graphics can increase the chance of bowing if the materials or adhesive coverage differ significantly from side to side.
Select the right adhesive method
The best mounting method depends on panel size, graphic type, quantity, and required finish. Pressure-sensitive adhesive vinyl is the most efficient option for many retail and event graphics. The adhesive is already part of the print media, reducing mess and shortening production time.
For photo prints, posters, or non-adhesive paper graphics, spray adhesive and mounting film are common choices. Spray adhesive can work for small panels, but it requires controlled application. Uneven coverage may create lumps, weak areas, or visible adhesive marks. It is less suitable for large-format jobs where consistency matters.
Double-sided mounting film provides more even adhesion than spray adhesive and is useful for premium presentation boards. A cold laminator can apply mounting film with controlled pressure across the entire sheet. This method is especially useful when producing multiple panels with matching quality.
For larger volumes, a roller laminator or mounting table is the practical choice. It improves alignment, reduces trapped air, and produces a flatter finish than hand application. Manual mounting is workable for small quantities, but panels above approximately 24 by 36 inches are much easier to handle with two people or appropriate mounting equipment.
Apply the graphic with controlled pressure
Start by positioning the graphic over the board without removing the liner. Check that the bleed is equal on all sides and confirm the orientation before committing. For directional signs, menus, or product boards, this is the stage to catch a reversed panel or incorrect layout.
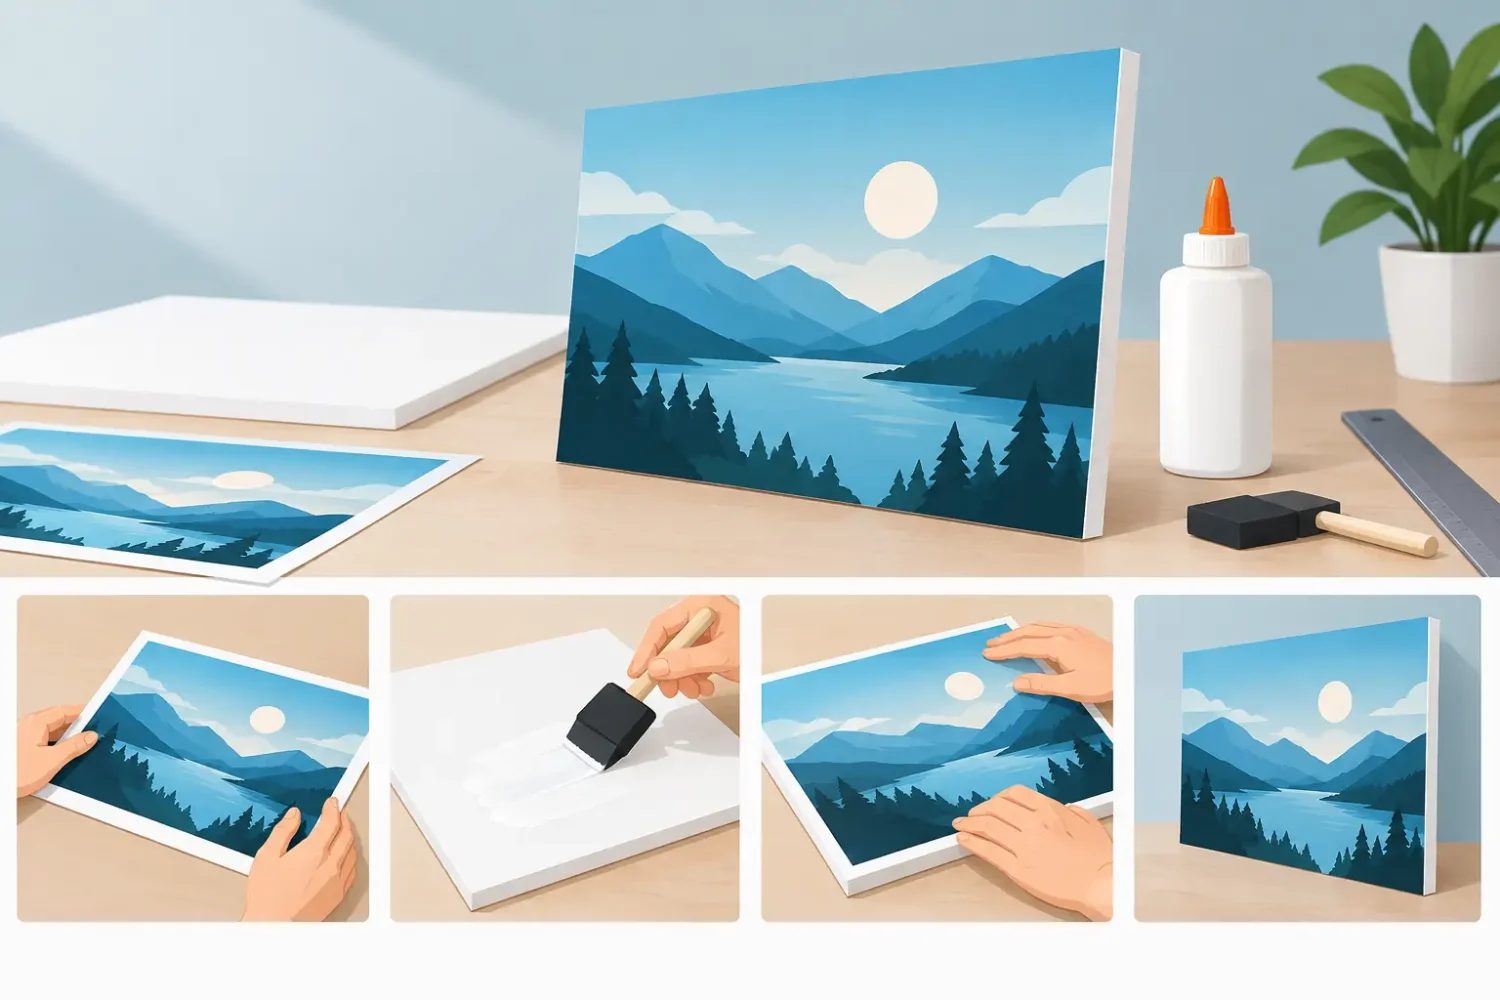
For self-adhesive graphics, use a hinged application method. Secure the top edge of the aligned print with masking tape, creating a hinge. Lift the print, peel back a short section of the release liner, and apply the exposed adhesive edge to the foamboard. Then remove the liner gradually while using a felt-edge squeegee to press the graphic down from the center outward.
Keep the squeegee strokes overlapping and consistent. Fast, random strokes trap air. Firm pressure is needed, but excessive force can dent lightweight foamboard. A felt squeegee edge reduces the risk of scratching the print surface, particularly on gloss vinyl or laminated photographic graphics.
For very large panels, use a laminator where possible. If applying by hand, work with a second person to keep the print elevated and tensioned. Do not pull the graphic hard across the board. Stretching can distort the image and may cause the vinyl to retract at the edges after installation.
Small air bubbles can sometimes be pushed toward the edge with a squeegee. A tiny remaining bubble may be released with a fine pin, then pressed flat. This should be a correction step, not the standard process. Multiple pinholes are visible under lighting and reduce the professional finish of a retail display.
Trim, protect, and finish the panel
Once the graphic is mounted, trim the excess using a sharp utility knife and a straightedge where needed. Replace dull blades often. A dull blade can tear the printed film, crush the foam core, or leave rough edges that look poor on a customer-facing panel.
Cut with the printed side facing up when trimming flush to the board. Support the panel fully on the work surface and make light, controlled passes instead of forcing one deep cut. For shaped foamboard graphics, use a suitable cutting template or CNC finishing service for repeatable contours and clean corners.
Lamination is worth considering for panels that will be touched often, used under retail lighting, or transported between events. A matte laminate reduces glare and fingerprints. Gloss laminate can make colors appear more vivid, but it reflects overhead lights and can show scratches more easily. For short-run indoor promotional panels, an unlaminated print may be sufficient and keeps costs lower.
If the foamboard needs to stand independently, plan the hardware before finalizing the panel size and thickness. Easel backs, foamboard stands, KT board stands, or framed systems each place different loads on the board. A thin panel may work for a countertop sign but not for a freestanding display in a busy walkway.
Avoid the common causes of failure
Most mounting problems are caused by rushed preparation rather than the board itself. Warping usually comes from uneven tension, mismatched materials on opposite sides, humidity, or incomplete adhesive coverage. Edge lifting often points to contaminated surfaces, insufficient pressure, poor-quality adhesive, or a print that was not properly cured before mounting.
Foamboard is an indoor display material. It should not be treated as a permanent exterior sign, even when the graphic uses outdoor-rated ink and vinyl. Rain, humidity, wind, and direct sun can damage the board core and face layers quickly. For outdoor promotions, use a more suitable rigid substrate and display hardware designed for exterior use.
For campaign rollouts with multiple sizes, specify the final board thickness, print media, laminate finish, and mounting method at the start. This prevents one location receiving a glossy thin panel while another receives a matte, reinforced board. Consistent specifications make replacement panels easier to reorder and help maintain a uniform brand presentation.
A properly mounted foamboard graphic does not need elaborate treatment. It needs a flat board, a compatible print, even adhesive contact, careful trimming, and hardware that matches the display location. For retail promotions, exhibitions, and short-term branded installations, getting those production details right keeps the panel looking clean from the first setup through the final day of the campaign.
Related Posts