Acrylic signs often look simple from a distance: a logo, a few colors, a clean panel on a wall or counter. The production choice behind that result matters. UV acrylic printing gives business buyers a direct way to produce rigid branded graphics with strong color, fine detail, and a premium finished appearance without applying a separate printed sticker to the panel.
For retail fixtures, office signage, point-of-sale displays, reception branding, and exhibition panels, acrylic can provide a more permanent look than paper posters or standard foam board. It is not the right material for every campaign, however. Cost, panel size, mounting method, lighting, and expected handling all affect whether UV-printed acrylic is the practical choice.
UV Acrylic Printing: What the Process Delivers
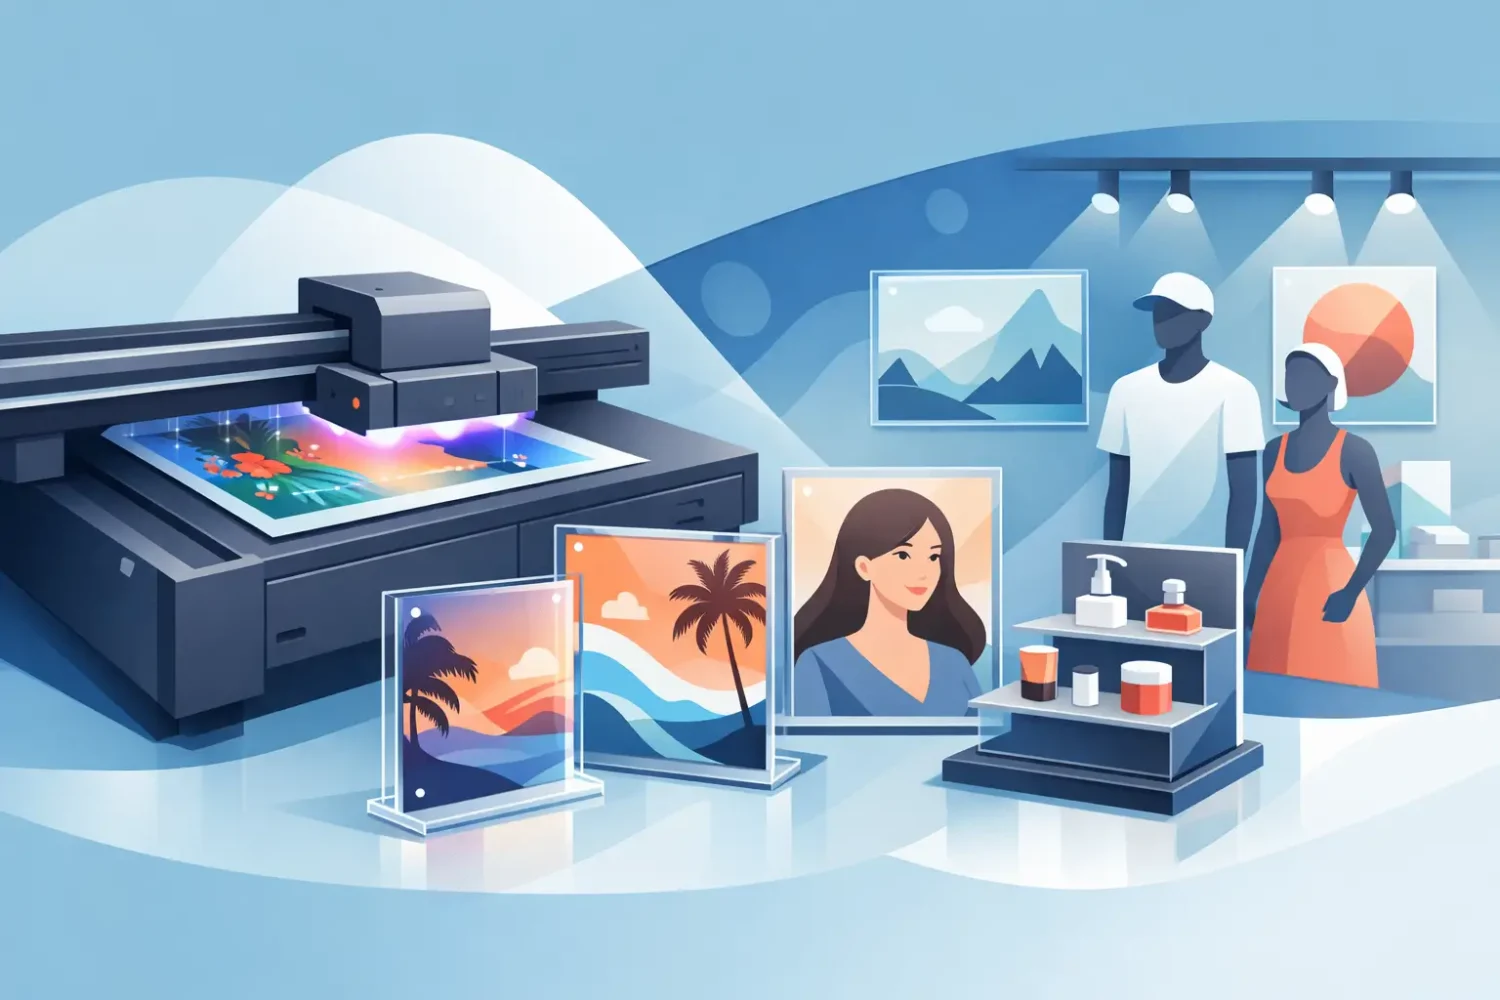
UV printing applies ink directly onto the acrylic surface and cures it immediately with ultraviolet light. Because the ink is cured during production, the printed layer is dry when it leaves the printer. This supports sharp text, solid color areas, detailed logos, photographs, and small graphic elements on a rigid panel.
The result is different from printing on vinyl and mounting the vinyl to acrylic. Direct UV printing removes the extra film layer and can reduce the risk of visible application bubbles or edge lifting. It is particularly useful when the artwork needs a clean, integrated finish on a panel that will be viewed up close.
Acrylic is available in clear, white, frosted, and colored options. Clear acrylic is commonly used for reverse printing, where the graphic is printed on the back of the panel and viewed through the front. White acrylic gives a more familiar sign-face appearance and is useful for full-color graphics that need an opaque background. Frosted acrylic can soften light and reduce the visual hardness of a clear panel, though it may change how colors appear.
Direct Print or Reverse Print?
This is one of the first decisions to make when ordering acrylic graphics. Direct surface printing places the artwork on the front-facing side of the panel. It is appropriate for many indoor signs, branded display boards, and short-to-medium-term promotional uses where the print face will not receive frequent contact.
Reverse printing places the image on the rear side of clear acrylic. The viewer sees the artwork through the smooth front face. This method protects the printed image from handling and creates a polished glass-like effect. It works well for reception logos, directional signs, menu boards, illuminated panels, and permanent wall displays.
White ink is often required for reverse printing. Without a white layer, colors printed behind clear acrylic can look translucent and may be affected by the wall, light, or surface behind the panel. A white backer printed behind selected artwork can make logos and text appear more solid, while a full white layer can support full-color images. The correct option depends on whether the design calls for transparent areas, colored transparency, or complete opacity.
Artwork should clearly identify which elements need white ink. A logo with white lettering, for example, may disappear against a light wall if the production file does not specify a white layer. For procurement teams, this is a detail worth confirming before production rather than after installation.
Where Acrylic Panels Work Best
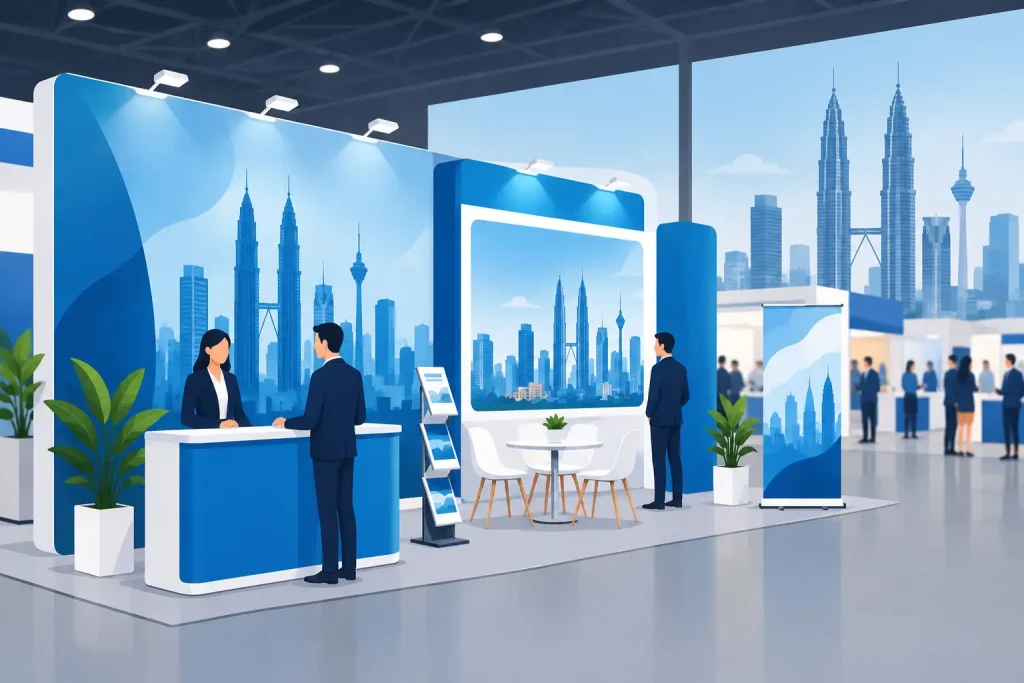
UV-printed acrylic is most effective where a rigid, polished panel adds value to the customer-facing environment. Common commercial uses include reception signs, office room labels, product information panels, retail shelf communication, cosmetic and electronics displays, price boards, counter graphics, and exhibition feature panels.
For a retail campaign, acrylic can be used as a hero display rather than as the only printed component. A store may combine an acrylic countertop sign with PP white posters, printed stickers, LED light frames, or a larger PVC roll-up stand. Each format handles a different job: acrylic delivers a premium close-range detail, while flexible graphics and display hardware cover larger areas at a lower cost.
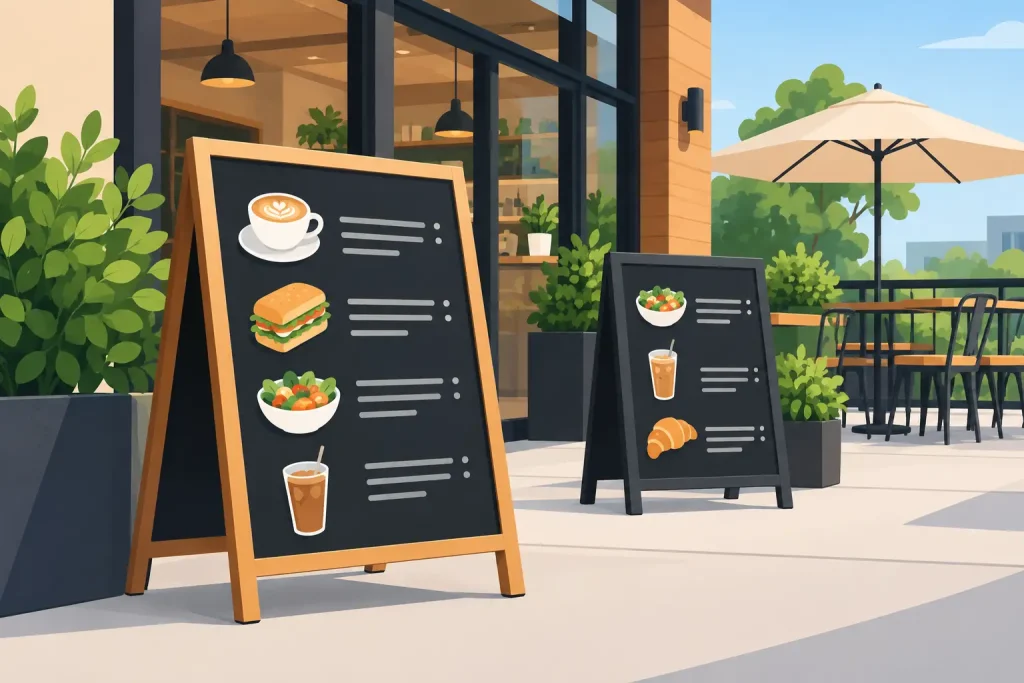
It is also a suitable material for menu displays, service lists, QR-code panels, and branded counters where customers stand close enough to notice print quality. Fine type and small iconography reproduce well when the artwork is prepared correctly. Acrylic is less suitable for applications that require frequent rolling, folding, or transport in lightweight kits. For those jobs, fabric, PVC banner material, or roll-up graphics are usually more efficient.
Thickness, Size, and Mounting Affect the Final Result
Acrylic is a rigid substrate, but it is not a single standard product. Thickness affects stiffness, perceived quality, weight, and mounting options. Thin panels can work for small counter signs or inserts, while thicker panels are better suited to wall signage and freestanding visual elements. Larger pieces may need additional support to prevent flexing.
Mounting should be planned before printing. Common options include drilled holes with standoff hardware, adhesive tape, panel channels, frames, or placement inside a light frame or display system. Hole positions, edge clearances, and finished panel dimensions should be included in the production specification. Drilling after printing is possible in some cases, but it creates another handling step and can affect the appearance if not planned accurately.
For wall-mounted acrylic, consider the background surface. A white wall supports reverse-printed graphics differently from dark timber, exposed concrete, or patterned tiles. Transparent areas will reveal whatever is behind the panel. This can be intentional, but it should be part of the design plan rather than an installation surprise.
Large-format acrylic jobs also require practical handling. Panels can scratch, chip at corners, or crack under impact. Protective film, careful packing, and suitable transport are part of the job, especially when signs are moving to exhibitions, roadshows, or multi-location retail installations.
Preparing Artwork for UV Acrylic Printing
A production-ready file saves time and avoids avoidable revisions. Vector artwork is preferred for logos, text, line graphics, and cut outlines because it maintains sharp edges at different panel sizes. High-resolution raster images can be used for photographs and textured artwork, provided they are sized for final output.
Set the document to the finished panel size and include bleed only where the print should run fully to the edge. Keep essential text and logos away from drilled holes, corners, and mounting areas. Small text should be tested carefully, especially when it will be reverse printed or viewed through a textured or frosted acrylic sheet.
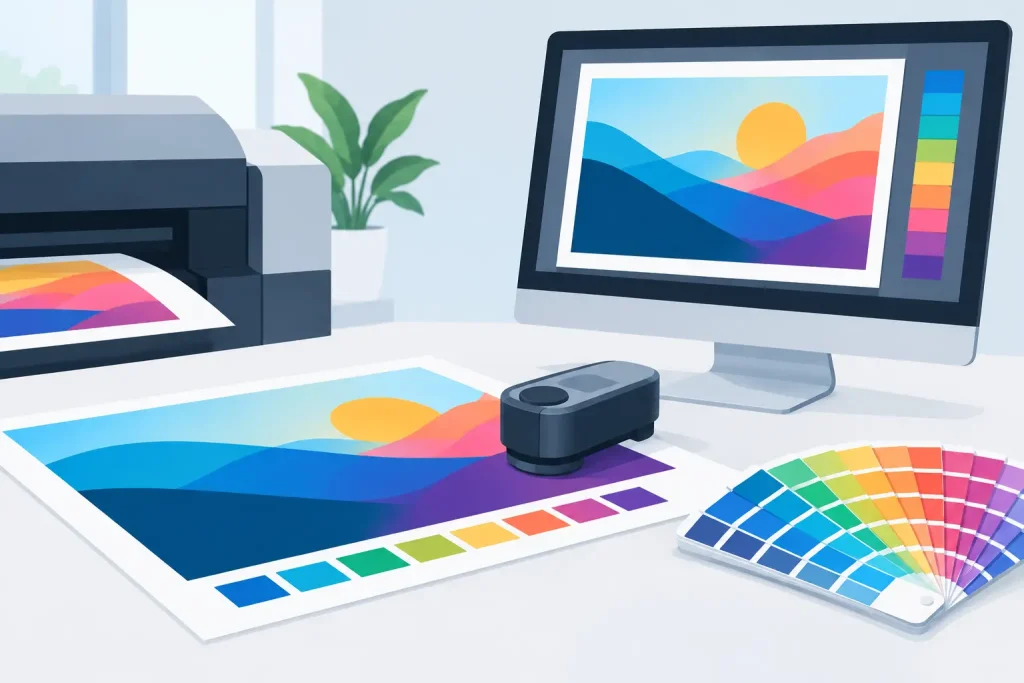
Color management also matters. Screen colors do not always match cured UV ink exactly, particularly for bright brand colors, deep blacks, and fluorescent-looking shades. If color matching is critical for a corporate identity or product launch, provide approved color references and request a production check. For repeated campaigns, retain the approved artwork version and specification so future panels remain consistent.
When white ink is needed, send clear instructions for full white backing, spot white areas, or layered effects. A separate spot-color layer is often used to identify white ink areas in the file. The naming convention can vary by production workflow, so confirm the required setup before final artwork submission.
UV Print Compared With Other Sign Methods
UV printing is not automatically the best option just because acrylic is involved. Vinyl graphics mounted to acrylic can be a workable choice for certain colors, large runs, or installations that may need replacement. Laminated vinyl may also offer different surface protection options for heavily handled graphics.
For temporary campaigns, foam board, KT board, synthetic paper, or PP white material may deliver the message at a lower overall cost. For outdoor signage, the selection should consider exposure to sunlight, rain, heat, wind, and physical contact. Acrylic can be used outdoors in some applications, but the mounting system and print specification must be suitable for the site conditions.
Latex, solvent, eco-solvent, dye sublimation, and UV production methods all have different strengths. UV is especially practical for direct printing onto rigid boards and panels. Dye sublimation is commonly selected for fabric displays, while solvent and eco-solvent are widely used for banner and vinyl graphics. The material, display hardware, finish, and installation environment should guide the method, not the other way around.
Ordering the Right Acrylic Print Specification
A clear request helps move a job from quotation to production without delays. Provide the panel size, quantity, acrylic type and thickness, print side, direct or reverse print requirement, white ink requirement, mounting method, and delivery deadline. If the panel is part of a wider campaign, include any matching items such as roll-up stands, popup displays, stickers, counters, or LED light frame graphics.
For multi-site rollouts, standardize the artwork, panel dimensions, hole positions, and packing labels. This makes installation easier for teams working across retail branches, event venues, or office locations. It also reduces the chance that one location receives a panel with a different finish or mounting setup.
My Inkjet can be a practical single-source option when a campaign needs both printed acrylic panels and related display materials. Combining the rigid signage, printed graphics, and presentation hardware under one production plan can simplify specification control.
Choose acrylic when the display needs to feel intentional at close range, not merely visible from across the room. A well-specified UV print, matched to the right panel and mounting method, gives a brand message a clean surface that can keep working long after a short-term poster has been replaced.
Related Posts