A delivery van has only a few seconds to communicate who it belongs to while moving through traffic or sitting at a job site. This vehicle decal guide is built for that practical requirement: selecting graphics that remain readable, adhere correctly, and match the working conditions of commercial vehicles.
For fleet operators, retailers, contractors, event teams, and promotional agencies, the best decal is rarely the most elaborate one. It is the one that fits the vehicle panel, carries the right message at a usable viewing distance, and holds up through washing, heat, rain, and daily use.
Start With the Job the Decal Must Do
A vehicle decal can identify a business, promote a campaign, display service information, or provide required operational markings. Each purpose changes the right material and layout.
A permanent fleet identity decal usually needs a durable film, stable color output, and a layout that can be repeated across vans, cars, trucks, or motorcycles. A short-term campaign decal may prioritize fast production and removal instead. Window graphics need a different approach from body-panel graphics because visibility from inside the vehicle may matter.
Before selecting a print method or finish, define three points: how long the decal will remain on the vehicle, where it will be installed, and how far away people need to read it. A logo seen from the next parking space can use more detail than a phone number intended to be read from the next lane.
Vehicle Decal Guide: Choose the Right Format
Commercial vehicle graphics generally fall into three working formats: cut vinyl lettering, printed decals, and larger printed panel graphics. The format should follow the artwork, not the other way around.
Cut Vinyl for Simple Branding
Cut vinyl works well for one- or two-color logos, company names, fleet numbers, web addresses, and contact details. Because the lettering or shapes are cut directly from colored film, there is no printed background around the design. This produces a clean result on doors, tailgates, side panels, and glass.
It is a practical choice when brand colors are solid and the message is simple. However, cut vinyl is less suitable for photographs, gradients, illustrated artwork, or logos with multiple shades. Fine lettering can also become difficult to weed, transfer, and apply accurately, especially on textured or curved surfaces.
Printed Decals for Full-Color Artwork
Printed decals are the standard option for full-color logos, product images, promotional artwork, QR codes, and complex campaign graphics. They can be printed on white, transparent, hologram, matt silver, or other specialty sticker materials depending on the intended effect.
White vinyl is the usual choice when color accuracy and opacity matter. Transparent material can work on glass or light-colored vehicle surfaces, but every printed color is affected by the panel behind it. A yellow logo on transparent film may look different on a white van than on a dark blue car. Where consistent brand color is required, an opaque white base or white vinyl is usually safer.
Larger Graphics for Coverage and Impact
Larger decals can cover doors, quarter panels, tailgates, or substantial portions of a vehicle body. They provide more space for a campaign visual or product image, but they also require more planning. Large graphics must account for door seams, handles, fuel caps, body contours, reflectors, sensors, and trim.
Full or partial wraps are not simply oversized stickers. Their success depends on conformable materials, controlled installation, and artwork prepared to extend around edges and recesses. If the campaign does not require broad coverage, separate panel decals may offer a lower-cost and easier-to-replace option.
Select Material by Surface and Service Life
The vehicle surface determines much of the material decision. Smooth painted metal and flat glass are the most straightforward application areas. Deep channels, rivets, heavily curved bumpers, unpainted plastic, and textured surfaces require more caution.
For painted body panels, use a vehicle-grade adhesive vinyl matched to the intended duration. A short-term promotional film may be economical for a temporary launch, while a long-term fleet decal needs stronger outdoor durability and adhesive performance. The lower-cost choice is not always the lower-cost result if decals must be replaced after early lifting or fading.
For windows, choose material based on whether the graphic must be viewed from both sides and whether the driver needs outward visibility. Perforated window film is commonly used for rear windows where one-way advertising visibility is useful. It should not be treated as a universal window solution. Placement must not interfere with safe sight lines, mirrors, cameras, or applicable vehicle regulations.
Lamination adds protection against abrasion, road grime, washing, moisture, and UV exposure. Gloss laminate can make colors appear more vivid, while matte laminate reduces reflection and can suit text-heavy branding. Neither finish corrects weak artwork or poor installation. They are protective layers, not substitutes for a suitable base film.
Match the Printing Method to the Artwork
The print method affects color, production speed, material compatibility, and outdoor performance. Solvent and eco-solvent printing are commonly used for adhesive vinyl graphics because the inks work well with signage materials and outdoor applications. Latex printing is useful where quick handling and low-odor production are priorities. UV printing can produce sharp output on selected media and is often used where ink adhesion and surface finish requirements differ.
The correct choice depends on the substrate and use case. A simple vinyl logo does not need the same production approach as a full-color campaign decal with close-view product photography. Ask for the intended material, finish, and expected application environment rather than choosing based on print terminology alone.
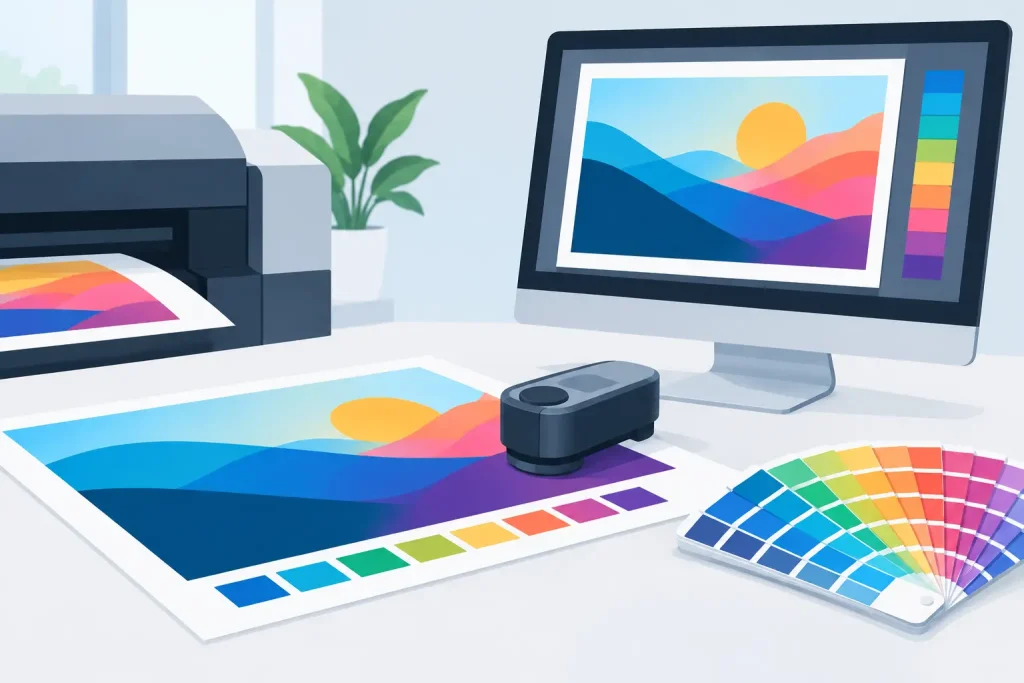
Color management matters most when vehicles are part of a visible fleet. Supply approved logo files and brand color references whenever possible. Colors can shift between screen artwork and physical print, particularly with bright orange, deep blue, metallic effects, and transparent materials. For large rollouts or color-sensitive brands, reviewing a sample before full production can prevent a costly mismatch.
Build Artwork for Real Viewing Conditions
Vehicle graphics are mobile signage, not brochures. Keep the primary message short. A company name, service category, phone number, or web address should be readable without requiring someone to stand beside the vehicle.
Use high-contrast color combinations. Dark text on a light panel, or light text on a dark panel, is generally easier to read than low-contrast combinations. Avoid placing essential information over busy photography, window edges, door seams, or a vehicle’s existing badges.
Small type creates frequent production and usability problems. A business may have room for a full service list on a van door, but that does not mean passing traffic can read it. Prioritize one message per side, then use secondary information only if it remains legible. QR codes should be large enough to scan from a realistic standing distance and placed on a relatively flat area away from high-abrasion zones.
Provide vector artwork for logos and lettering when available. Formats such as AI, EPS, PDF, or SVG generally scale better than small raster images. Photographs should be supplied at sufficient resolution for final print size. Enlarging a low-resolution social media image can produce soft edges and visible pixelation on a vehicle panel.
Plan Placement Before Production
Measure the actual vehicle model, not an online image of a similar model. A fleet can include different wheelbase lengths, trim levels, tailgate designs, and window layouts. Even small panel differences can move a logo into a handle, body crease, or fuel door.
Door decals should allow for opening gaps and should not bridge separate panels unless the installation method is planned for it. Rear graphics need to work around lights, license plates, cameras, and safety markings. Side-panel graphics should consider the vehicle’s normal parking orientation and the direction of traffic at customer sites.
Do not place graphics where they may block required lights, registration details, safety labels, or driver visibility. Rules differ by jurisdiction and vehicle type, so confirm operational and regulatory requirements before approving artwork. A print supplier can produce the graphic, but the vehicle operator remains responsible for compliant use.
Installation Determines the Finished Result
A high-quality print can fail quickly on an unprepared surface. Vehicles should be washed, dried, and cleaned of wax, oil, silicone, road film, and detergent residue before application. Freshly painted panels may require a curing period before adhesive graphics are installed.
Application conditions matter as well. Extremely hot panels, cold temperatures, rain, and dusty outdoor locations can affect adhesion and handling. For multi-vehicle fleets, consistent professional installation helps keep logo placement, spacing, and alignment uniform across every unit.
After installation, allow the adhesive to settle before aggressive washing. Avoid high-pressure washing directly at decal edges, particularly during the first days. Inspect edges periodically, especially around door handles, wheel arches, and curved sections where lifting is more likely.
Prepare an Order Brief That Prevents Rework
A clear order brief reduces production delays and makes repeat orders easier. Include these details when requesting vehicle decals:
- Vehicle make, model, year, and photos of each intended panel
- Quantity of vehicles and whether all body sizes are identical
- Final decal dimensions, placement locations, and artwork files
- Required material, adhesive type, laminate, and finish preference
- Expected campaign duration and normal washing or operating conditions
- Whether installation, replacement sets, or spare decals are required
For campaigns across Kuala Lumpur, Johor Bahru, or multiple operating locations, keeping approved artwork, measurements, and production specifications on file is especially useful. It allows replacement decals to match the original fleet rather than being recreated from screenshots or old samples.
The right vehicle graphic should make a working vehicle easier to identify and harder to ignore, without creating an installation or maintenance problem later. Specify the surface, service life, artwork, and placement early, then let those requirements determine the material and production method.
Related Posts