An exhibition counter is more than a place to put brochures. It is often the first surface visitors approach, the workstation for your staff, and a visible part of your booth branding. Knowing how to choose exhibition counters starts with how the counter will be used during the event, not with its printed graphic alone.
A counter that looks suitable in a product photo can become inconvenient once staff need room for a laptop, payment terminal, samples, lead forms, and personal items. Choose the structure around the actual booth workflow, then match the print, finish, and size to the campaign.
Start With the Counter’s Job at the Booth
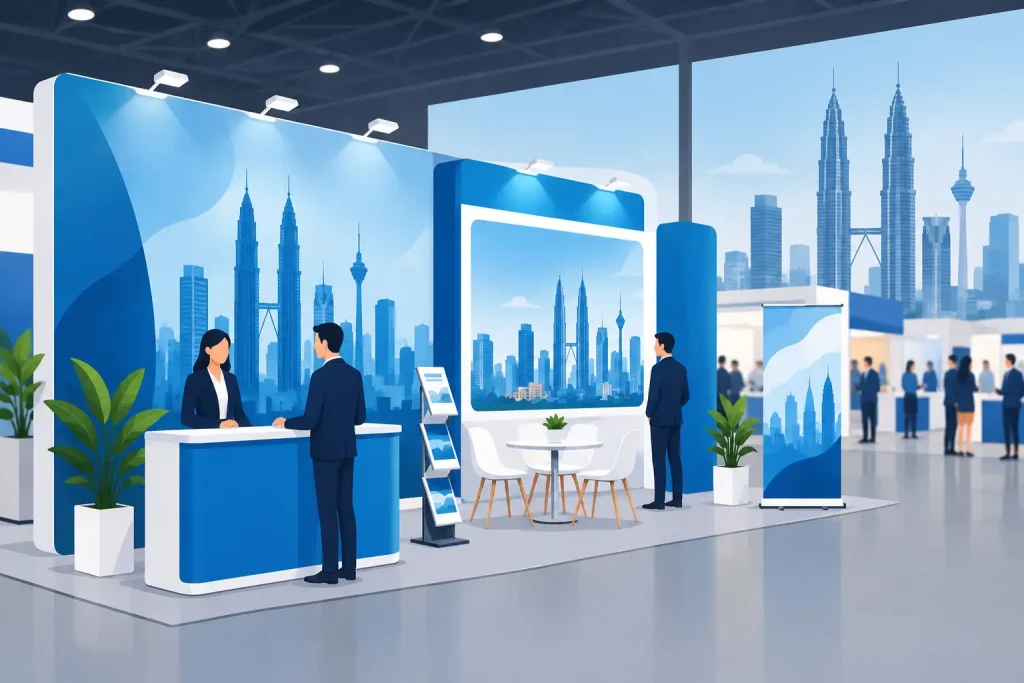
The right counter depends on whether it will welcome visitors, support product demonstrations, collect registrations, serve refreshments, or hold promotional stock. A reception-style counter for lead capture needs a clear front graphic and a practical worktop. A sampling counter needs a wipeable surface and enough internal storage for inventory. A retail promotion counter may need a stronger base and space for payment equipment.
For a compact booth, one portable exhibition counter can establish a clear contact point without taking over the available floor area. Larger booths may use two counters with separate functions: one facing the main aisle for enquiries and another inside the stand for consultations or demonstrations.
Before selecting a format, decide where visitors will stand and where your team will work. Avoid placing the counter so close to the booth edge that staff block the aisle. At the same time, do not position it too far inside the booth, where passing visitors may not recognize it as the place to start a conversation.
How to Choose Exhibition Counters by Size
Counter dimensions affect both visitor comfort and transport planning. A narrow promotional counter works well for quick conversations and brochure display. A wider unit is more useful when two staff members need to work at once or when the top must hold product samples, catalogs, or a monitor.
Height matters as much as width. Most standing counters are designed for face-to-face conversations with visitors who remain on their feet. This is practical at busy trade shows, roadshows, and mall activations where contact is brief. If your team will process forms, conduct longer discussions, or use a laptop for extended periods, check whether the worktop height is comfortable for the intended task.
Measure the booth plan before ordering. Allow clearance behind the counter for staff movement, storage access, and cable routing. Also confirm venue rules for aisle boundaries, fire exits, and maximum fixture height. A counter may fit within the booth footprint on paper but still create a cramped setup when paired with roll-up banners, popup displays, or product racks.
Select the Structure for Transport and Reuse
Exhibition counters are commonly chosen in portable, folding, modular, or more fixed display formats. The best choice is tied to how frequently your business exhibits and who will handle installation.
Portable counters are suitable for teams attending regular events with limited setup time. They are usually lighter, easier to carry, and designed to pack into a bag or case. This is useful for sales teams moving between exhibitions, retail activations, and corporate launches. The trade-off is that lightweight hardware may provide less storage space or a smaller working surface.
Larger counters can create a more permanent presentation and may support heavier equipment. They suit bigger booth areas, product demonstrations, and brand activations where appearance and capacity matter more than rapid transport. However, check the packed size, total weight, and whether the unit requires tools or more than one person to assemble.
For repeat campaigns, do not focus only on the initial purchase price. Consider how many event cycles the hardware must handle. The graphic panel may be changed for a new campaign, but the frame, worktop, fasteners, and carrying case must withstand loading, unloading, and storage between events.
Check Materials and Worktop Requirements
The visible printed area gets attention, but the worktop takes daily wear. A good counter should have a stable top surface that is appropriate for its intended load. Brochures and a tablet require little support. A coffee machine, product display, sampling equipment, or payment terminal requires more stability and a surface that is easier to clean.
Look at the counter body as well. Fabric-style systems can be lightweight and practical for changing graphics. PVC graphic panels are common for portable promotional counters and deliver solid color reproduction with a structured display finish. Rigid board or framed formats may be suitable where a more fixed, flat presentation is required.
Ask about the printed material, lamination options, panel replacement, and edge finishing. These details affect how the counter holds up under fingerprints, repeated cleaning, and frequent handling. For food sampling or cosmetics demonstrations, choose materials that can be cleaned without damaging the print.
Plan the Graphic Around the Viewing Distance
Counter graphics are viewed differently from a backdrop. Visitors may see the front panel from several feet away, then stand directly in front of it. The design therefore needs a clear hierarchy: brand name or logo first, campaign message second, and supporting information only where it can be read quickly.
Do not treat the counter as a miniature brochure. Small paragraphs, dense product specifications, and too many logos usually disappear in a busy exhibition hall. One main message, a high-contrast visual, and relevant contact information are more effective.
Color consistency also matters when the counter is used with a popup display, roll-up stand, LED light frame, or printed backdrop. Supply the same approved artwork and color references for all items where possible. Production methods such as eco-solvent, UV, latex, and dye sublimation can suit different materials and display applications, but the artwork should be prepared for the final substrate and format.
If you expect to update promotions often, select a counter system with replaceable graphics. This reduces the need to replace the full hardware when a seasonal offer, product launch, or event message changes.
Storage, Cables, and Working Details
A counter can look organized at opening time and become cluttered within an hour. Internal shelves, rear access, and concealed storage are valuable when staff need to keep bags, stock, chargers, and paperwork out of sight. Even a small storage compartment can make a portable booth look more professional.
Think through power before the event. If the counter will support a laptop, tablet, lightbox accessory, or payment device, determine where cables will run. A visible cable across the booth floor is both untidy and a safety issue. Some setups need cable openings or a rear-facing workspace to keep equipment controlled.
For staffed activations, test the operational details with a simple checklist:
- Can one person assemble and pack the counter safely?
- Is the worktop large enough for the equipment used during peak hours?
- Is there storage for stock and staff items?
- Can the front graphic be replaced without changing the whole unit?
- Does the packed size fit the transport vehicle and venue access route?
These questions prevent the common mistake of purchasing a counter based only on appearance.
Match the Counter to the Rest of the Display
An exhibition counter should work as part of a display system. A small counter can look lost beside a wide popup backdrop, while an oversized counter can cover the lower section of a well-designed display wall. Consider the visual scale of the complete booth, including banners, flags, brochure holders, product stands, and lighting.
For a simple 3 m x 3 m booth, a portable counter placed near the open side can work with one backdrop and one or two roll-up banners. For a retail roadshow, a compact counter may pair better with beach flags, hanging signage, or a freestanding product display. The correct combination depends on traffic flow and campaign objectives, not on buying the largest format available.
Where you need both the counter hardware and the branded printed panels, sourcing them together can reduce artwork mismatches and simplify production planning. My Inkjet can support this type of requirement across display hardware and commercial print formats, allowing the counter graphic to be planned alongside the rest of the event materials.
Order With Setup Time in Mind
Exhibitions have fixed deadlines, but print production, finishing, and delivery still need time. Finalize the counter format before building the artwork, particularly if the panel has template requirements, curved sections, or bleed areas. A design made for a flat board may not transfer correctly to a wraparound counter graphic.
Provide print-ready files, confirm final dimensions, and approve artwork before production begins. If the event is recurring, keep a record of the hardware model, panel size, print material, and approved artwork version. That makes reorders and graphic updates faster and reduces errors across future campaigns.
The best exhibition counter is the one that gives staff a usable workstation while making the brand easy to recognize from the aisle. Choose for workflow first, then select the structure, print finish, and graphic treatment that will keep working long after the first event closes.
Related Posts