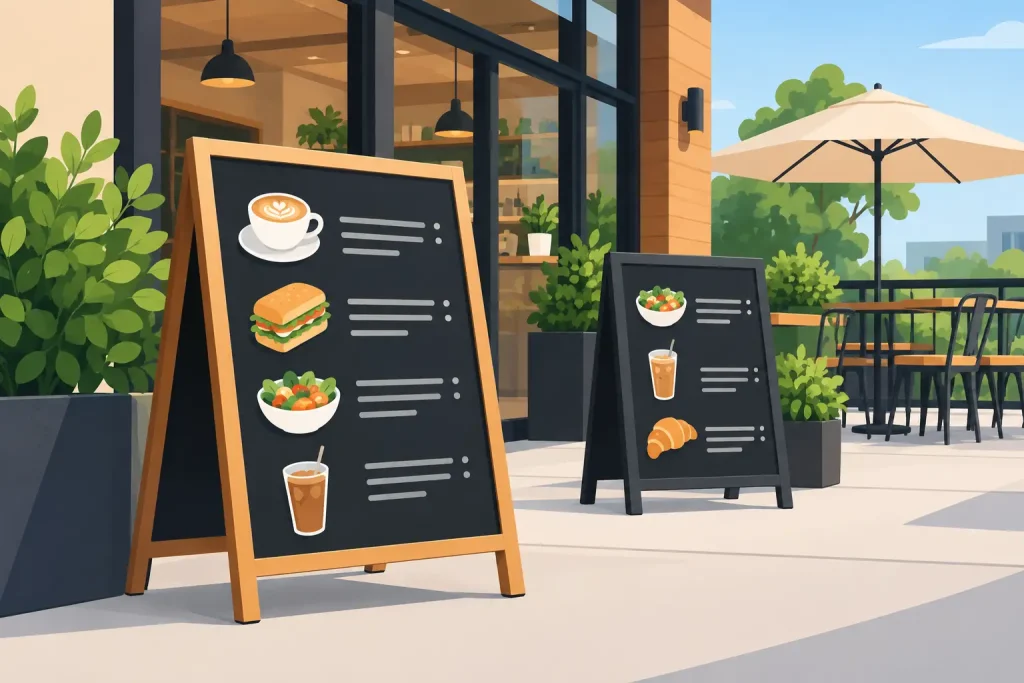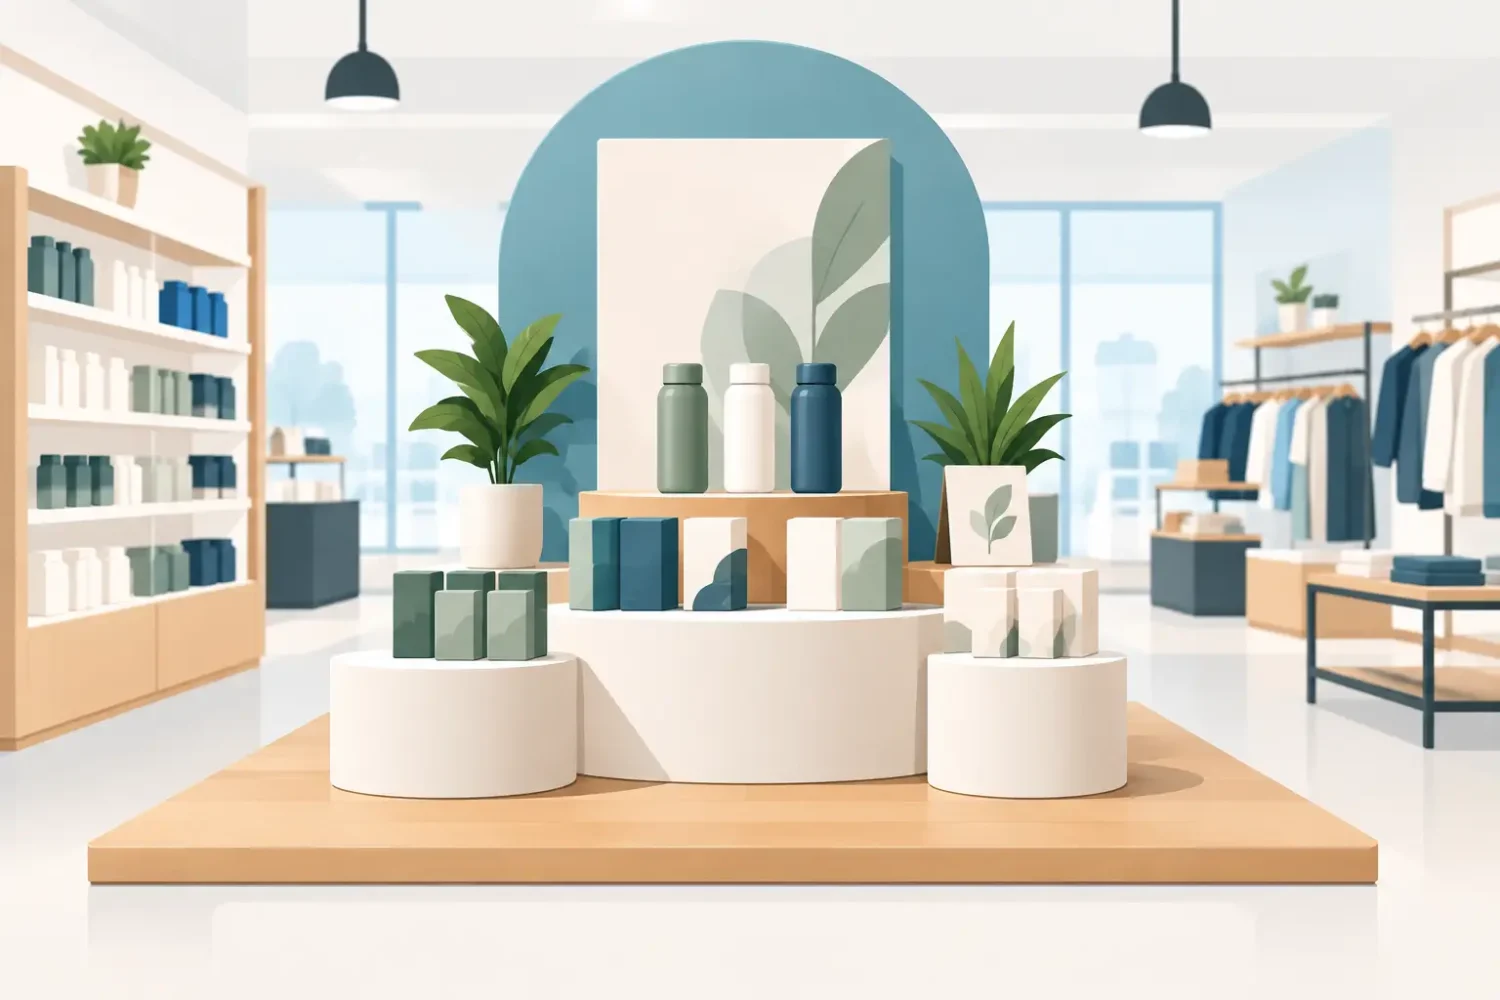
A retail launch display example is most useful when it shows more than a good-looking graphic. It should show how the display stops traffic, explains the product, supports stock on the shelf, and fits the actual footprint available in store. For a launch campaign, the hardware, print method, material, and placement all affect whether the message is visible or simply part of the background.
A new product does not need every display format in the catalog. It needs the right formats for the location, campaign duration, audience distance, and setup conditions. A compact end-cap launch needs a different approach from a mall atrium activation or a multi-store promotion.
Retail Launch Display Example: End-Cap Product Introduction
For a new snack, beverage, personal care item, or packaged consumer product, an end-cap display is often the most direct retail launch format. The shopper is already near the product category, so the display only needs to communicate the launch message quickly and lead the eye toward the merchandise.
A practical setup uses a printed foam board or KT board header above the shelf, shelf-edge strips for product identification, and a small countertop stand or floor stand positioned where store rules allow. The header should carry one clear message: product name, key benefit, launch offer, or limited-time flavor. Avoid treating the header as a brochure. Shoppers should understand it from several feet away.
For the main panel, UV print on rigid board is a suitable option when the display needs clean color and a flat, professional finish. If the artwork includes product photography, glossy packaging, or fine type, use high-resolution files and allow enough contrast between the product image and background. White text over a busy product photo may look acceptable on a screen but lose clarity under retail lighting.
This format works well for short campaigns because the hardware requirement is low. The trade-off is limited visual height. If competing brands have tall promotional units nearby, add a roll-up stand at the aisle entrance or use a hanging element where permitted.
Aisle Entrance Launch With Roll-Up Stands
An aisle entrance gives a launch more reach than shelf-level graphics. A roll-up stand is useful here because it is portable, quick to install, and easy to move between store branches. It can introduce the product before shoppers reach the category shelf.
A simple launch arrangement may use two roll-up stands: one facing incoming traffic with a campaign message and one closer to the shelf with a product benefit, price point, QR code, or promotional mechanic. The two graphics should work as a sequence, not repeat the same block of text.
For example, a new cleaning product launch may use the first stand for a strong problem statement such as “Tough grease, less scrubbing,” then use the second stand for product variants and the introductory offer. The product itself remains the final destination. This is more effective than trying to place every feature, ingredient, and instruction on one banner.
PVC roll-up stands are appropriate for recurring retail use because the graphic is protected within the base when packed away. Choose a stable base for busy aisles and avoid placing the stand where it obstructs carts, emergency access, or a clear customer route. A display that blocks traffic may be removed by store staff regardless of print quality.
Countertop Display for Sampling and Checkout Areas
Counter displays work when the product can be understood in seconds. They are common for cosmetics, confectionery, accessories, small electronics, pharmacy items, and trial-size products. A counter is also one of the few locations where a customer may pause long enough to read a short product claim.
A useful countertop launch unit combines a branded counter wrap, a rigid printed backboard, and a small product tray or sample area. The backboard provides vertical visibility while the counter face carries the campaign identity. If staff are conducting sampling or demonstrations, the counter should have enough working space for stock, testers, leaflets, and cleaning materials.
Do not overbuild this format. A large graphic panel behind a compact product can make the actual item difficult to find. Use the display to frame the product, not bury it. For glossy beauty packaging or premium labels, a high-quality mounted print and controlled lighting can make a noticeable difference.
LED Light Frame for Premium Product Launches
An LED light frame suits launches where color, detail, and premium presentation matter. It is especially useful for cosmetics, fashion, technology, automotive accessories, beverages, and seasonal collections. Backlit graphics can stand out in shopping malls, department stores, airport retail areas, and storefront windows where standard posters compete with many other visual messages.
The main decision is whether the location has suitable power access and whether the campaign will run long enough to justify the higher hardware investment. For a single weekend activation, a roll-up stand or popup display may be more economical. For a multi-week launch or a reusable branded retail fixture, an LED light frame gives stronger visual consistency.
Use backlit artwork designed specifically for illumination. A standard poster file can appear washed out or overly dark once installed in a light frame. Dense black areas, thin pale type, and low-resolution images need special attention. Product images should be tested for skin tones, packaging colors, and detail in highlighted areas.
Retail Launch Display Example: Storefront or Mall Activation
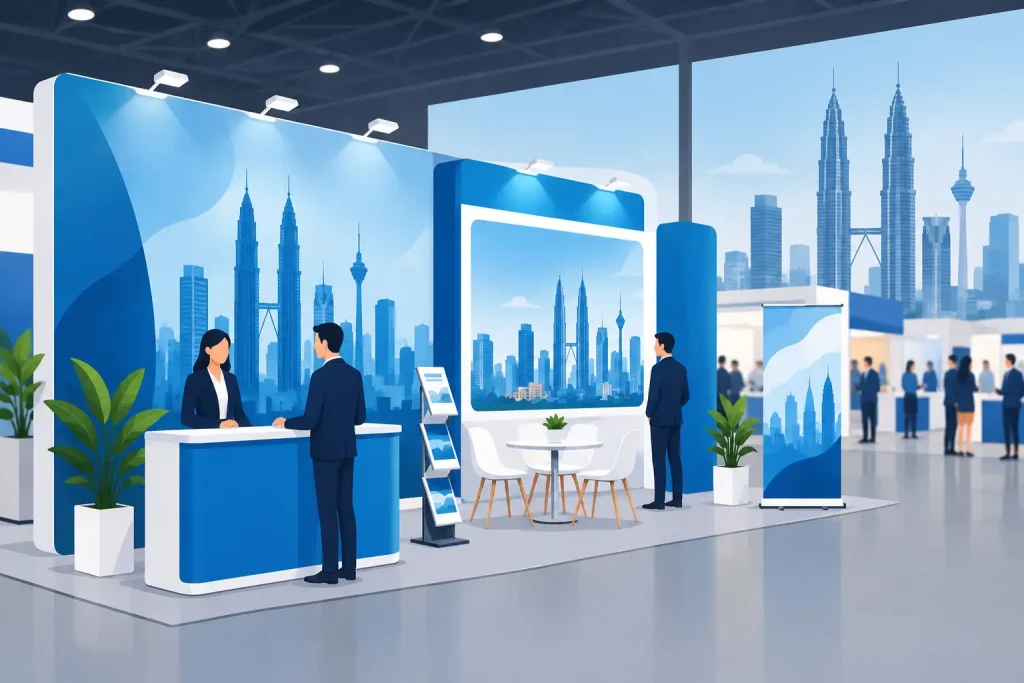
For a bigger launch, combine display formats rather than relying on one oversized item. A storefront or mall activation can use a popup display as the visual backdrop, beach flags to direct traffic from a distance, a branded counter for staff engagement, and barricade covers or floor graphics to define the activation area.
This arrangement is useful when the objective is awareness plus interaction. The popup display establishes the campaign image for photos and product demonstrations. Flags create visibility across an open retail floor. The counter gives promoters a controlled place for sampling, registration, redemption, or product explanation.
The graphics should have a clear hierarchy. The backdrop carries the campaign name and hero visual. Flags carry a short identifier or callout. The counter presents the product close-up and supports the action shoppers need to take. If every surface uses different messages, the activation can feel disorganized even when each item is printed well.
For temporary retail events, select hardware based on transport and assembly requirements. Popup displays and roll-up stands are practical for teams moving between locations. Wooden frames and heavier mounted boards can provide a more permanent appearance but require more careful handling and installation planning.
Choosing Print Materials for the Launch Environment
Print material should match how the display will be used. Indoor promotional panels commonly use PP white, synthetic paper, PVC, or mounted board depending on the required finish and structure. Outdoor-facing displays, entrance flags, and weather-exposed promotions need materials and inks that can handle the environment better.
Eco-solvent and solvent printing are common choices for durable graphics, while UV printing is effective for direct print applications and rigid substrates. Latex printing can be a practical option for indoor graphics where low odor and fast turnaround are priorities. Dye sublimation is often selected for fabric displays that need a softer finish and easy transport.
Specialty stickers also have a role in launch campaigns. Transparent stickers can work on glass doors and windows without covering the full view. Hologram and matt silver stickers can support premium packaging promotions or limited-edition messaging. Mirrorkote may suit printed promotional pieces where a clean, polished surface is required. The correct choice depends on the application, not just the visual effect.
Build the Display Around a Real Store Condition
Before producing a retail launch display, confirm the available width, ceiling height, power access, customer flow, store installation rules, and campaign dates. A design approved on a desktop can fail when a pillar blocks half the artwork or a narrow aisle leaves no room for a stand.
Also plan for replenishment. If the display promotes a limited offer, the product should remain stocked and easy to reach. If a QR code is used, test it at the installed size and viewing distance. If the campaign runs across several branches, standardize the core hardware while allowing size adjustments for different store layouts.
My Inkjet can support this type of rollout by combining display hardware, printed graphics, mounting, and specialty materials through one production source. The practical goal is not to use more displays. It is to put the right message on the right format, where customers can see it before they walk past the product.
Related Posts